
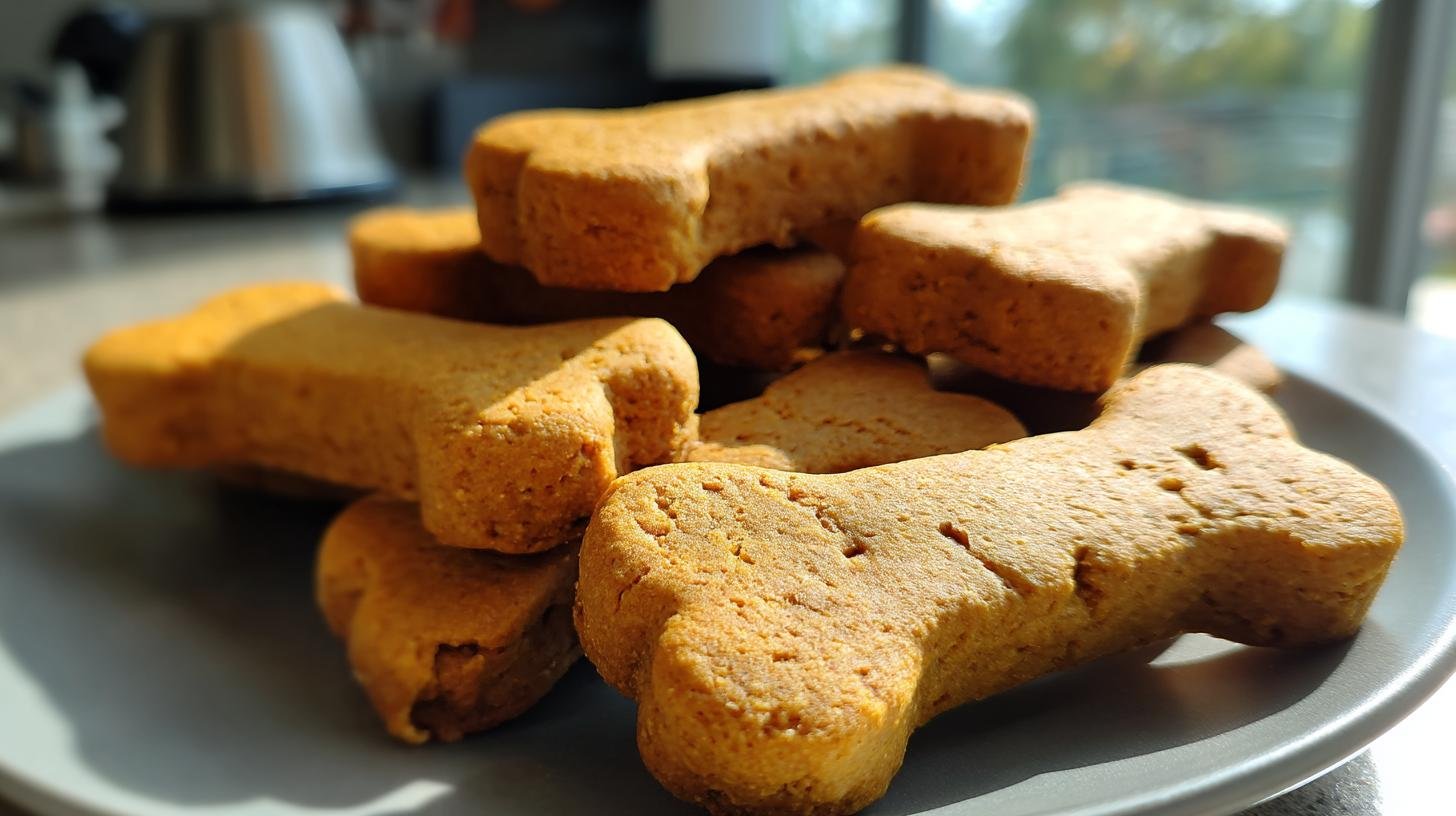
Okay, so you know how much I love whipping up goodies in the kitchen? Well, that doesn’t just stop with human treats! My furry best friend deserves some love too, and let me tell you, making homemade pumpkin dog cookies is one of my favorite things. There’s just something so satisfying about knowing exactly what’s going into their snacks, and seeing their tail wag when they smell these baking? Priceless!
Pumpkin isn’t just for pies and lattes, you know. It’s actually really good for dogs! It’s packed with fiber, which is great for their tummies, and it’s got vitamins too. Plus, they seem to just *adore* the flavor. And the best part about this recipe? It’s SO easy. Seriously, you can go from zero to hero in your dog’s eyes in under 40 minutes. Most of that is just baking time, so your hands-on work is super quick!
Why Make These Pumpkin Dog Cookies?
Honestly? Because your dog will LOVE you for it! But besides being the BEST dog parent ever, making these pumpkin dog cookies has some pretty sweet perks:
- You control the ingredients: No weird stuff you can’t pronounce! Just simple, wholesome goodness.
- No artificial junk: You won’t find any strange colors, flavors, or preservatives in these homemade treats.
- Super budget-friendly: Making treats at home is way cheaper than buying those fancy store-bought ones.
- Tail-wagging guaranteed: Seriously, my dog goes nuts for these! They’re a guaranteed hit.
So really, why *wouldn’t* you make these?
Ingredients for Pumpkin Dog Cookies
Alright, let’s talk ingredients! You’re going to love how simple this is. You probably have most of this stuff in your pantry already! We’re just using a few basic things to make these yummy pumpkin dog cookies:
- 1/2 cup pumpkin puree (Make sure it’s just plain pumpkin, not pumpkin pie filling!)
- 1/4 cup peanut butter (BIG one here: **xylitol-free**! Xylitol is super toxic to dogs, so PLEASE double-check your label.)
- 1 egg (Just a regular large one will do.)
- 1 1/2 cups whole wheat flour (I like whole wheat for the extra fiber, but you can totally swap this out!)
See? Easy peasy! Just four things stand between you and being your dog’s favorite baker.
Equipment for Making Pumpkin Dog Cookies
You don’t need any fancy gadgets to whip up a batch of these pumpkin dog cookies! Just the basic stuff you probably already have hiding in your kitchen drawers. Here’s what you’ll want to grab:
- A good-sized mixing bowl (for getting everything combined)
- A baking sheet (or two, if you’re making a big batch!)
- Some parchment paper (trust me, this makes cleanup a breeze and prevents sticking)
- And, of course, some fun cookie cutters (or you can just use a knife or pizza cutter to make squares, your dog won’t care!)
That’s it! Super straightforward, just how we like it.
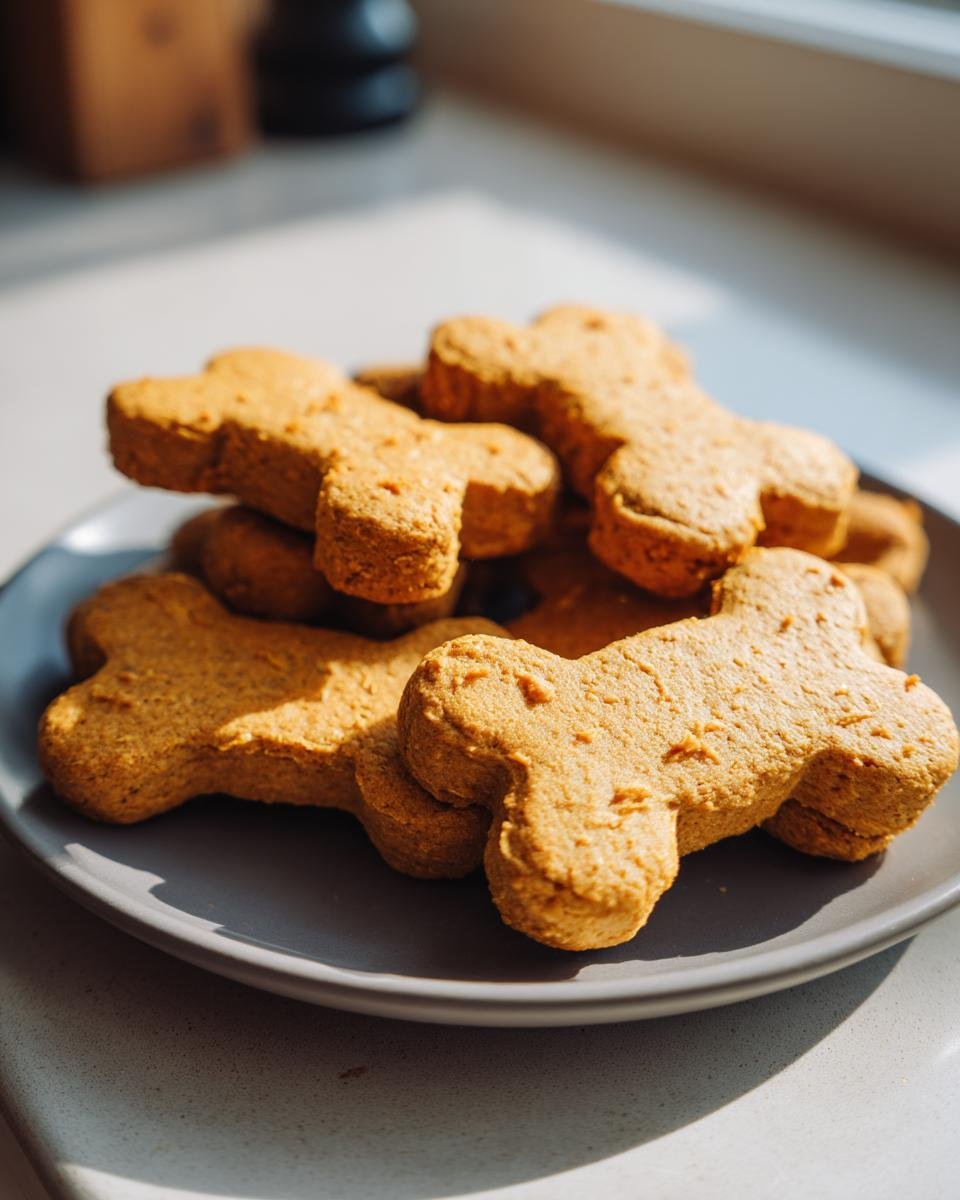
How to Make Pumpkin Dog Cookies
Okay, now for the fun part – actually making these adorable (and delicious, according to my dog!) pumpkin dog cookies! It’s genuinely simple, I promise. Just follow along, and you’ll have a batch of happy dog snacks in no time.
First things first, let’s get the oven ready. You want it nice and hot, so go ahead and preheat it to 350°F (that’s 175°C). While that’s warming up, grab your baking sheet and line it with that parchment paper we talked about. It’s a game-changer for easy cleanup!
Now, into a mixing bowl goes the pumpkin puree, that all-important xylitol-free peanut butter, and the egg. Give it a good stir until everything is nicely combined and looks like a smooth, orange-ish paste. This is the wet base for our pumpkin dog cookies!
Next, we’ll start adding the flour. Don’t just dump it all in! Add it gradually, mixing as you go. You’ll see it start to come together into a dough. It might be a little sticky at first, that’s okay. Keep mixing until it forms a ball that pulls away from the sides of the bowl. This dough is the heart of these pumpkin dog cookies!
Once you have your dough, turn it out onto a lightly floured surface. You don’t need a ton of flour here, just enough so it doesn’t stick. Now, grab your rolling pin and roll the dough out to about 1/4 inch thick. This is where those fun cookie cutters come in! Cut out your shapes and carefully place them onto your prepared baking sheet. If you don’t have cutters, a knife or pizza cutter works just fine to make little squares or rectangles. Your dog won’t judge your shapes!
Pop that baking sheet into the preheated oven. These pumpkin dog cookies will need about 15 to 20 minutes to bake. You’re looking for them to be firm when you gently press on them. The edges might start to look slightly golden.
When they’re done, take them out of the oven and let them cool completely on the baking sheet before you even think about giving one to your excited pup. They’ll be hot inside! Patience is a virtue, even for our furry friends.
Preparing the Dough for Pumpkin Dog Cookies
Getting the dough just right is key for these pumpkin dog cookies. It’s not hard, but paying attention to the texture makes a difference! You start with the easy part: mixing the wet ingredients. The pumpkin puree, peanut butter (xylitol-free, remember!), and egg just need a good whisking until they’re smooth and happy together.
Then comes the flour. Add about half of the flour first and stir it in. You’ll see it getting thick. Add the rest gradually, mixing until the dough comes together. You want a dough that holds its shape and isn’t super sticky, but it shouldn’t be dry and crumbly either. If it feels too wet, add just a tiny bit more flour, a tablespoon at a time, until you get a workable dough. It should be easy to roll out without sticking everywhere.
Baking Your Homemade Pumpkin Dog Cookies
Baking these homemade pumpkin dog cookies is straightforward. Your oven should be preheated and ready to go at 350°F. Make sure your cookies are spaced out a little on the baking sheet lined with parchment paper – they won’t spread much, but giving them a little room is good.
They typically take 15 to 20 minutes. Keep an eye on them! You’ll know they’re done when they feel firm to the touch. They won’t get super brown like human cookies, maybe just a light golden on the edges if you’re using whole wheat flour. The goal is firm, not crispy or burnt! Once they’re out, let them sit on the hot pan for a few minutes before moving them to a cooling rack, or just leave them on the pan until they’re completely cool. That coolness step is important before treat time!
Tips for Perfect Pumpkin Dog Cookies
Making these pumpkin dog cookies is pretty forgiving, but a few little tips can make them extra great! First off, don’t overwork the dough. Once it comes together, just give it a quick knead to make it smooth, but don’t keep mixing and mixing like you would for bread. Overworked dough can make the cookies tough, and nobody wants a tough cookie, not even a dog!
Also, think about the thickness. Rolling them out to about 1/4 inch is usually perfect. If they’re too thick, they might not bake all the way through in the middle. If they’re too thin, they can get super hard and brittle. Aim for that sweet spot!
And seriously, let them cool COMPLETELY before giving them to your pup. I know those puppy dog eyes are hard to resist when they smell these pumpkin dog cookies, but hot treats are a no-go. Patience pays off!

Variations for Your Pumpkin Dog Cookies
One of the great things about making homemade pumpkin dog cookies is how easy they are to customize! While the basic recipe is fantastic, you can totally play around a little. If you want to add a little extra something, a tiny pinch of ground cinnamon is perfectly safe and can add a lovely aroma (just a little, dogs don’t need much!).
Remember how I mentioned you can swap flours? If whole wheat isn’t your dog’s jam, or you just have something else on hand, oat flour or even rice flour work well too. Just make sure you get a dough consistency that’s easy to roll. These simple tweaks can make your pumpkin dog cookies just a little different each time!
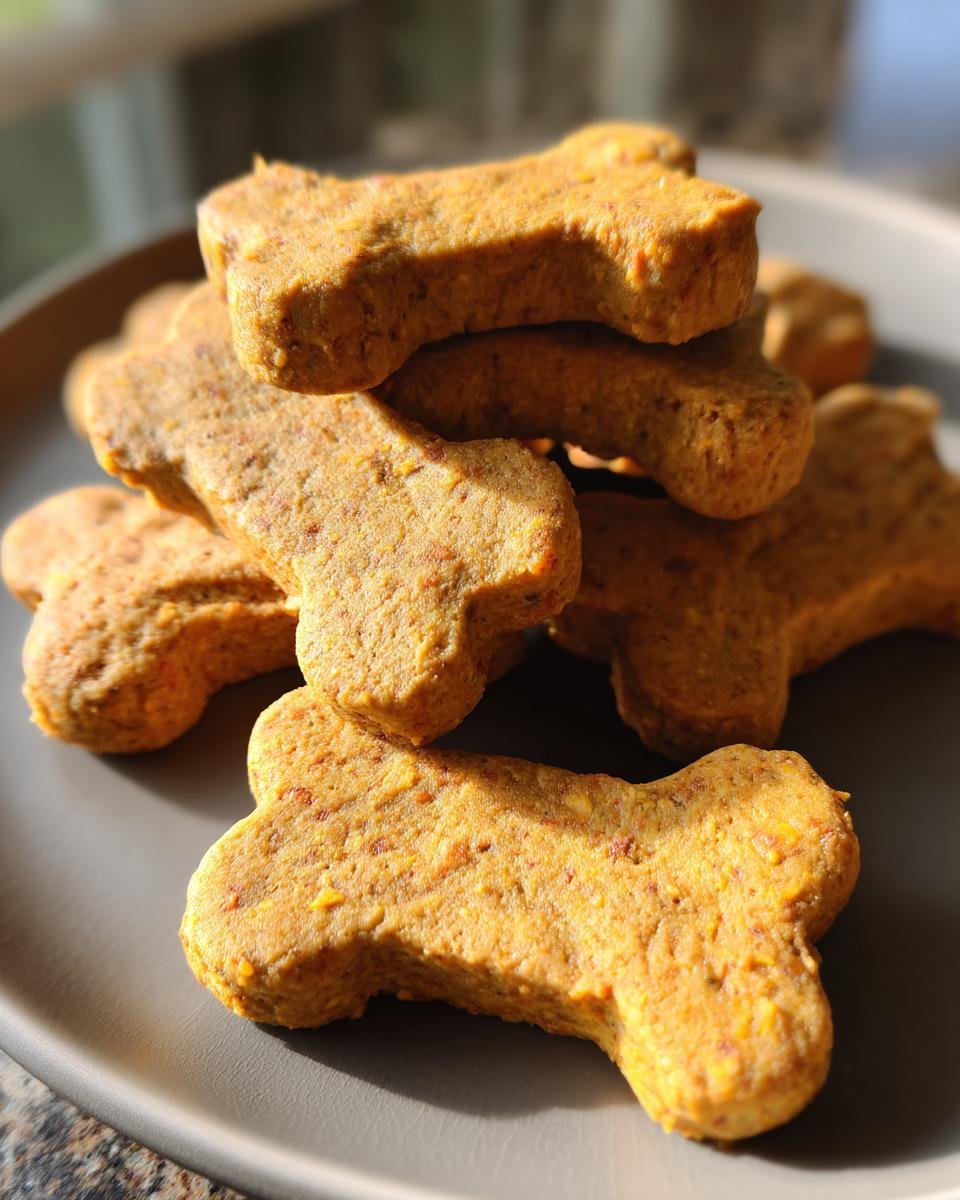
Storing Your Pumpkin Dog Cookies
Okay, so you’ve made a batch (or two!) of these amazing pumpkin dog cookies, and your dog is already giving you ‘the look’ for more. But how do you keep them fresh? It’s super simple! Just pop your completely cooled cookies into an airtight container. A cookie jar, a plastic container with a tight lid, anything that keeps the air out will work great. Stored this way, they should stay nice and fresh for a week or two on the counter. If you want them to last longer, you can even keep them in the fridge!
Nutritional Information
Okay, so while I can tell you these pumpkin dog cookies are made with wholesome ingredients that are generally good for dogs, giving you exact nutritional numbers is tricky! Things like calories, sugar, and fat can vary a lot depending on the specific brand of pumpkin puree, peanut butter, and flour you use. Plus, the size and thickness of your cookies will change the numbers too.
Think of any nutritional info here as a very, very rough estimate. It’s always best to chat with your vet if you have specific dietary concerns for your dog, especially if they have any health conditions or are on a special diet. But generally speaking, these homemade dog treats are a much healthier option than many store-bought ones because *you* know exactly what’s in them!
Common Questions About Pumpkin Dog Cookies
Okay, so you might have a few questions buzzing around after reading through the recipe. That’s totally normal! Making homemade dog treats is fun, but you want to make sure you’re doing it right for your furry friend. Here are some things people often ask about these pumpkin dog cookies:
Can puppies eat these? Generally, yes! The ingredients are pretty gentle. But always check with your vet first, especially for very young puppies or those with sensitive tummies. Start with just a tiny piece to see how they do.
My dog has allergies, can I change things? Absolutely! That’s the beauty of homemade dog treats. The next section talks about flour swaps. If your dog is allergic to peanut butter, you can try a dog-safe nut butter like almond butter (again, check that label for xylitol!) or even blend some plain applesauce into the wet ingredients instead, though the texture might change slightly.
What if the dough is too sticky or too dry? Don’t panic! If it’s too sticky, add flour a tablespoon at a time until it’s workable. If it’s too dry and crumbly, add just a tiny splash of water or unsweetened apple juice, maybe a teaspoon at a time, until it comes together.
Can I Use Different Flour in Pumpkin Dog Cookies?
Yes, you totally can! I love using whole wheat flour because it’s got that extra fiber goodness, but if your dog has sensitivities or you just have something else on hand, feel free to experiment. Oat flour is a popular choice for homemade dog treats, and it works great here. You can also use rice flour or even all-purpose white flour if that’s what you have. Just keep in mind that different flours absorb liquid differently, so you might need to adjust the amount slightly to get that perfect rollable dough consistency we talked about.
How Long Do Pumpkin Dog Cookies Last?
When stored properly in an airtight container on your counter, these pumpkin dog cookies should stay fresh for about 1 to 2 weeks. They don’t have any preservatives, remember! If you make a really big batch or want them to last longer, you can definitely pop them in the fridge – that can extend their shelf life for another week or two. For really long-term storage, they freeze beautifully! Just make sure they’re completely cool before freezing them in a single layer on a tray, then transfer to a freezer bag or container. They’ll last for a few months in the freezer.
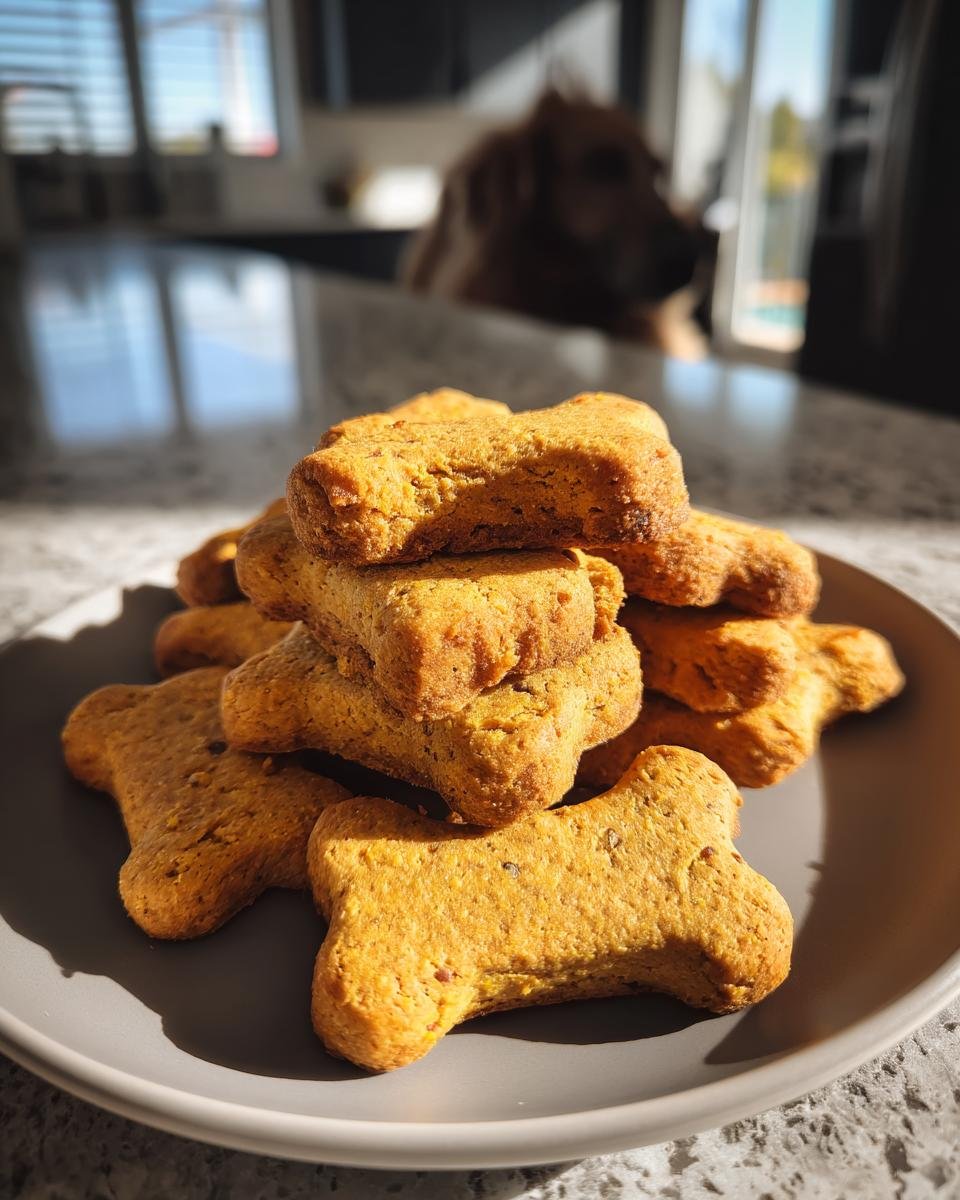
Share Your Pumpkin Dog Cookies
Okay, you’ve done it! You’ve baked a batch of these amazing pumpkin dog cookies, and your dog is probably giving you major heart eyes right now. I’d absolutely LOVE to hear how they turned out for you and your furry taste tester!
Did your dog do a happy dance? Did they gobble them up? Leave me a comment below and tell me all about it! If you have any questions that weren’t covered, pop those in the comments too. And seriously, if you snap any pictures of your pup enjoying their homemade treats, please share them! Tag me on social media – it makes my day to see happy dogs with my recipes!
Print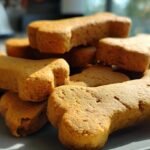
Awful 4 Ingredient pumpkin dog cookies
- Total Time: 35 minutes
- Yield: About 2 dozen cookies 1x
- Diet: None
Description
Make homemade pumpkin dog cookies. Easy recipe your dog will love.
Ingredients
- 1/2 cup pumpkin puree
- 1/4 cup peanut butter (xylitol-free)
- 1 egg
- 1 1/2 cups whole wheat flour
Instructions
- Preheat oven to 350°F (175°C).
- In a bowl, mix pumpkin puree, peanut butter, and egg.
- Gradually add flour and mix until a dough forms.
- Roll out dough and cut into desired shapes.
- Place cookies on a baking sheet lined with parchment paper.
- Bake for 15-20 minutes, or until firm.
- Let cool completely before giving to your dog.
Notes
- Store cookies in an airtight container.
- Check peanut butter label to ensure it does not contain xylitol, which is toxic to dogs.
- You can substitute other flours like oat flour or rice flour.
- Prep Time: 15 minutes
- Cook Time: 20 minutes
- Category: Dog Treats
- Method: Baking
- Cuisine: Pet
Nutrition
- Serving Size: 1 cookie
- Calories: Varies
- Sugar: Varies
- Sodium: Varies
- Fat: Varies
- Saturated Fat: Varies
- Unsaturated Fat: Varies
- Trans Fat: 0g
- Carbohydrates: Varies
- Fiber: Varies
- Protein: Varies
- Cholesterol: Varies