
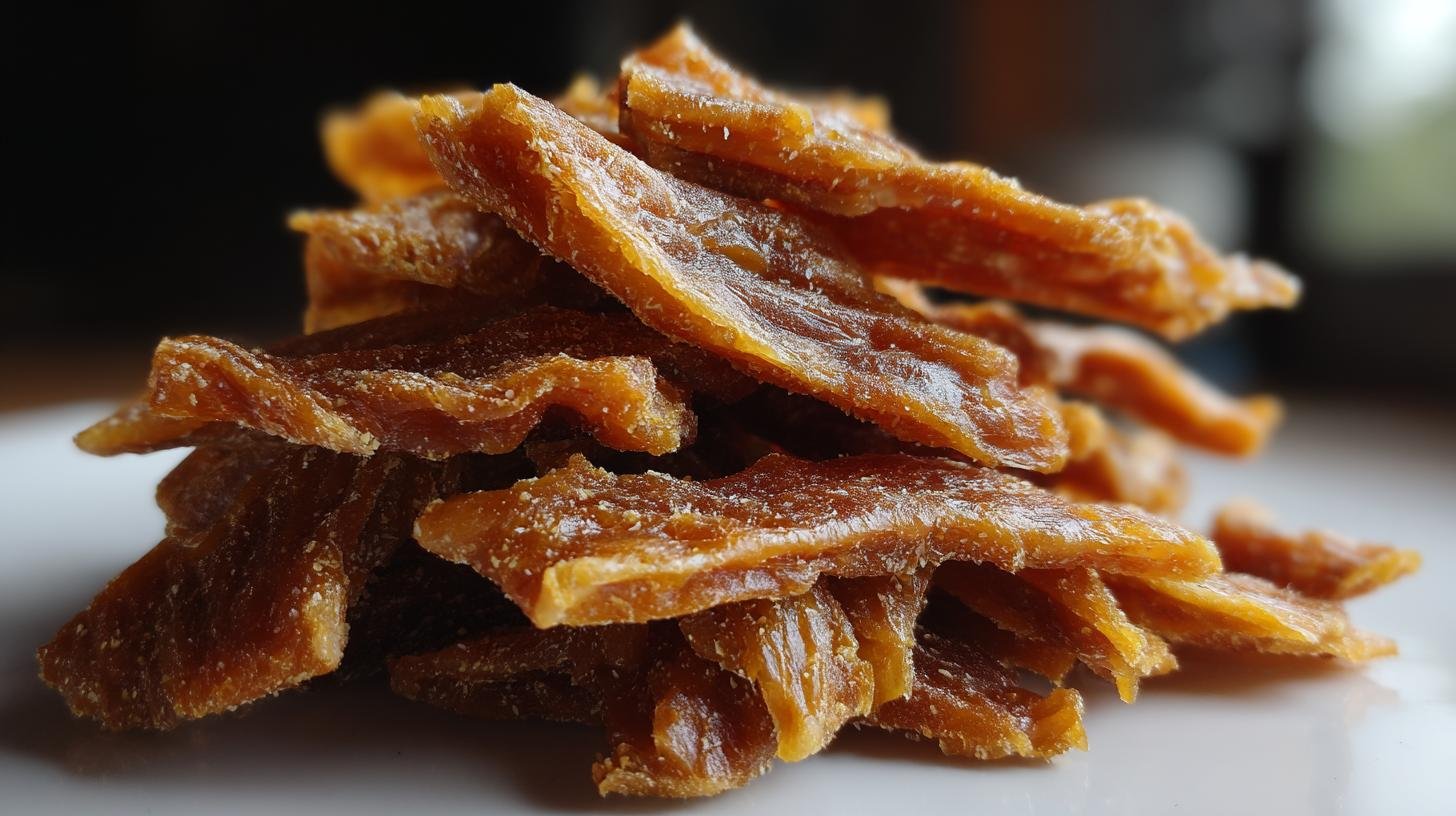
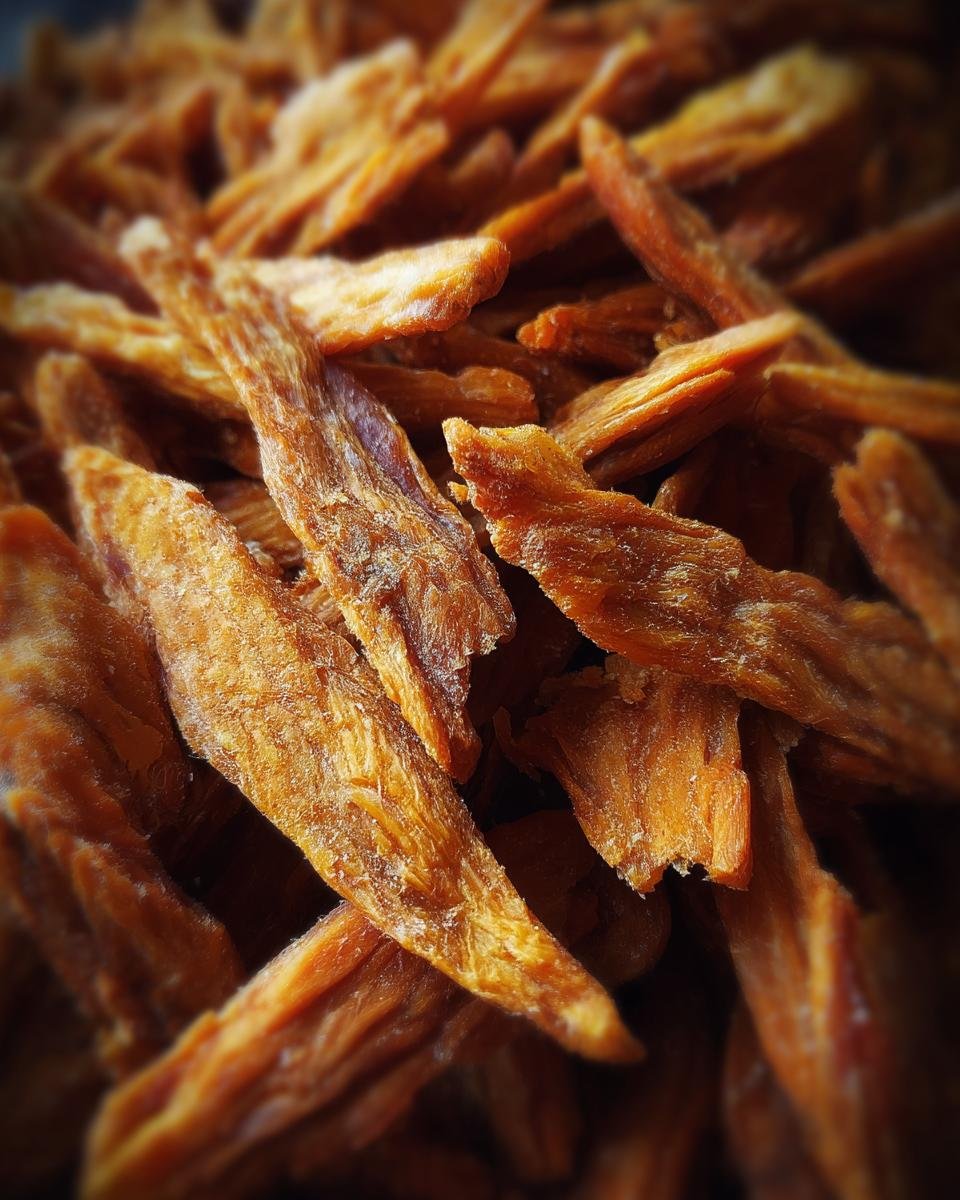
Oh, hey there! You know how much I *adore* my furry sidekick, right? Well, one of my absolute favorite things to do is whip up little treats for him. It just feels so good knowing exactly what he’s munching on! And honestly, store-bought stuff can get pricey and sometimes you just wonder what’s *really* in there, you know? That’s why I got hooked on making my own dog treats. It started with simple baked cookies, but then I discovered the magic of homemade chicken jerky for dogs. Seriously, it’s a game-changer!
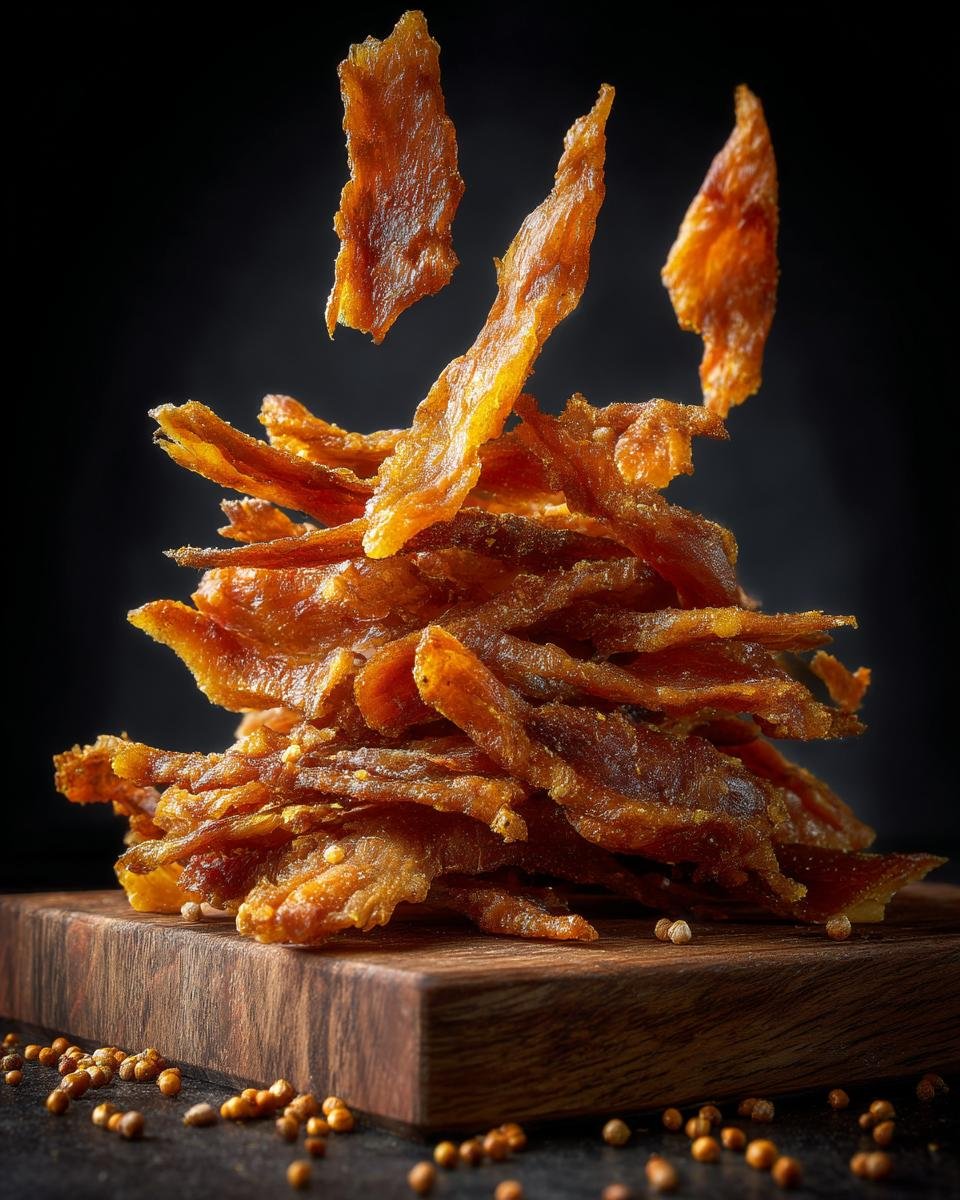
Making your own chicken jerky is ridiculously easy, like, *shockingly* easy. And the best part? It’s just one ingredient! You get all the healthy, lean protein your pup loves without any of the weird fillers, preservatives, or questionable stuff you find in some commercial treats. My dog goes absolutely bananas for this chicken jerky, and I feel great giving it to him. It’s become a total staple in our house, and I just *had* to share my simple secrets with you!
Why Make Chicken Jerky for Dogs Homemade?
Okay, so besides the fact that your dog will think you’re the greatest chef in the universe (which, let’s be honest, you are!), whipping up your own chicken jerky for dogs homemade just makes sense. Here’s why I love it so much:
- You’re in Control! You know *exactly* what’s going into those treats – just pure chicken. No mystery ingredients here!
- Say Goodbye to Additives: No weird colors, no artificial flavors, no preservatives. Just good, wholesome goodness for your pup.
- It Saves Pennies: Seriously, buying dog jerky can add up. Making it at home is way more budget-friendly in the long run.
- Tailor-Made for Your Best Friend: You can slice it thick or thin depending on what your dog prefers or needs.
Ingredients for Chicken Jerky for Dogs Homemade
Alright, get ready for the shortest ingredient list ever! This is where the magic of simplicity happens. For this amazing chicken jerky for dogs homemade, you only need one thing. Yep, just *one*!
- 1 pound boneless, skinless chicken breast: Make sure it’s just plain chicken breast, no marinades or anything added. This is the good stuff!
That’s it! Seriously. Told you it was simple, right?
Equipment Needed to Make Chicken Jerky for Dogs Homemade
You really don’t need anything fancy to make this chicken jerky for dogs homemade! Chances are, you already have everything you need hanging out in your kitchen. Here’s the basic lineup:
- A sharp knife: This is key for getting nice, even slices. Trust me, a dull knife makes this part way tougher than it needs to be!
- A cutting board: Gotta have a safe place to slice that chicken.
- A baking sheet: You’ll need one (maybe two depending on the size) to lay out your chicken strips.
- Parchment paper: This is a lifesaver! It keeps the chicken from sticking to the pan and makes cleanup a breeze. Don’t skip this!
Now, if you happen to have a food dehydrator, you could totally use that instead of the oven! It works just as well, sometimes even better for getting that perfectly dry, chewy texture.
How to Prepare Chicken Jerky for Dogs Homemade
Okay, this is where the fun really begins! Making chicken jerky for dogs homemade is seriously straightforward, but getting those few key steps right means you’ll have perfect, chewy treats every time. Just follow along, and you’ll be a jerky-making pro in no time!
Preparing the Chicken
First things first, we need to get that chicken ready. You’ll want to start with your pound of boneless, skinless chicken breast. Give it a quick rinse under cool water and pat it *really* dry with paper towels. Getting the surface dry helps with the slicing.
Next, grab that sharp knife and your cutting board. Look at the chicken breast and trim off any extra fat or weird bits. You want nice, lean pieces. Now comes the slicing! This is probably the most important part for getting that classic jerky texture. You want to slice the chicken breasts across the grain into thin strips. Aim for about 1/4 inch thick. Why across the grain? It makes the jerky easier for your dog to chew once it’s all dried out. Don’t worry if they aren’t all *perfectly* the same thickness, but try to keep them as consistent as possible so they dry evenly. If some are much thicker than others, they’ll take longer to bake, and you don’t want to overcook the thinner ones!
Drying the Chicken Jerky for Dogs Homemade
Alright, chicken is prepped! Now we bake (or dry!). Preheat your oven to a super low temperature – we’re talking 200°F (93°C). This low heat is key to drying out the chicken slowly without actually cooking it in the traditional sense. It’s like a really slow, gentle bake.
Line your baking sheet (or sheets!) with parchment paper. This saves you so much scrubbing later, trust me. Arrange your sliced chicken strips in a single layer on the parchment paper. Make sure they aren’t overlapping too much, you want the air to circulate around them so they dry nicely. If you have a lot of chicken, use two baking sheets.
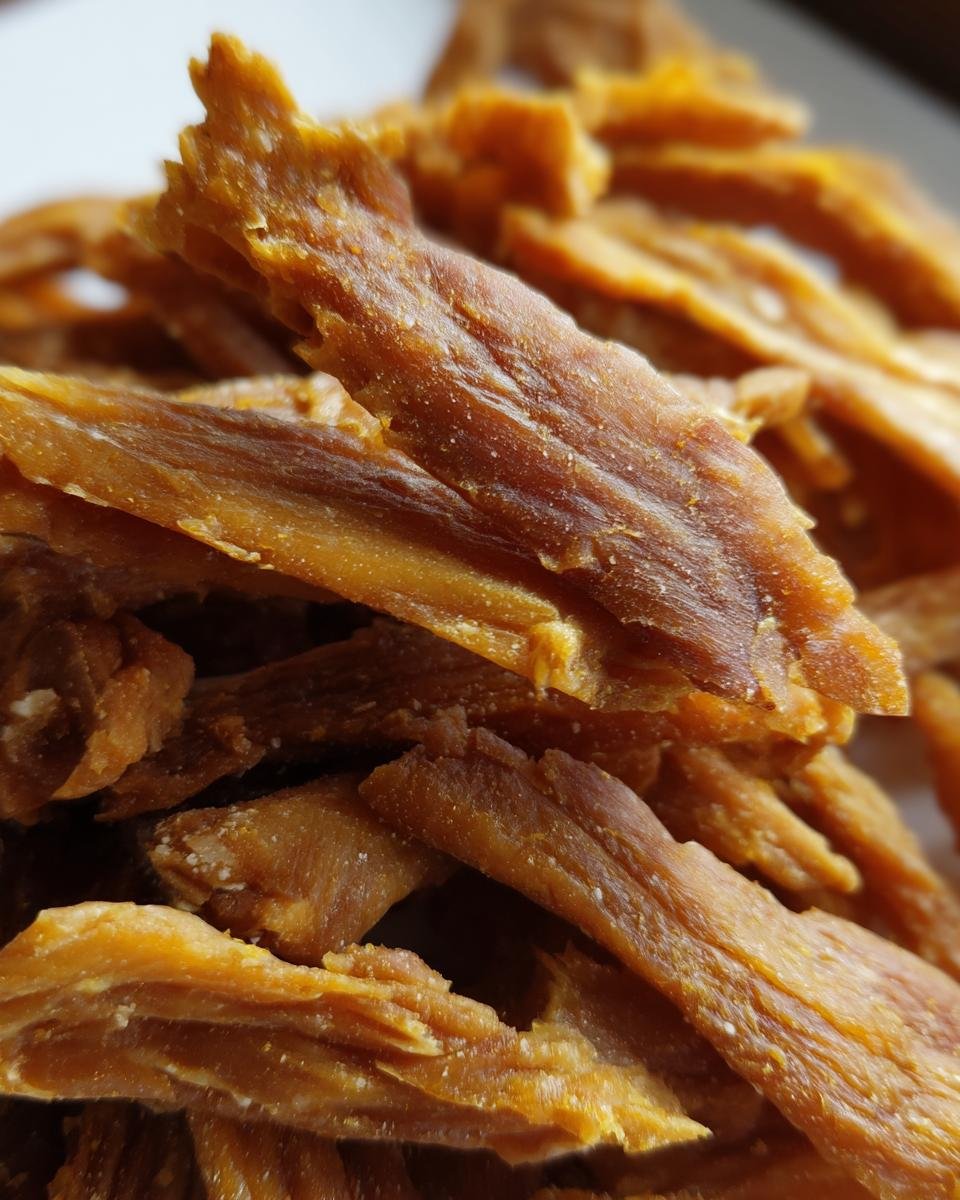
Pop the baking sheets into your preheated oven. Now, the baking time can vary depending on how thick you sliced your chicken and how your oven runs. It usually takes anywhere from 2 to 3 hours, sometimes even a little longer. You’re looking for the chicken to be dry and chewy, not brittle or crispy, but definitely not soft or squishy. It should bend without breaking easily. I usually start checking around the 2-hour mark. Gently lift a piece (careful, it’s warm!) and see how it feels. If it still feels soft and moist in the middle, give it more time. You can even flip the pieces halfway through the baking time to ensure even drying, though with parchment paper and a single layer, it’s not always strictly necessary.
Once they look and feel dry and chewy, turn off the oven and let them cool completely on the baking sheet. They’ll firm up even more as they cool. Don’t give them to your dog while they’re warm – patience is a virtue (for both of you!).
Tips for Perfect Chicken Jerky for Dogs Homemade
Okay, so you’ve made your first (or maybe tenth!) batch of chicken jerky for dogs homemade. To make sure every single piece is absolute perfection and totally safe for your pup, here are a few little tricks I’ve picked up along the way:
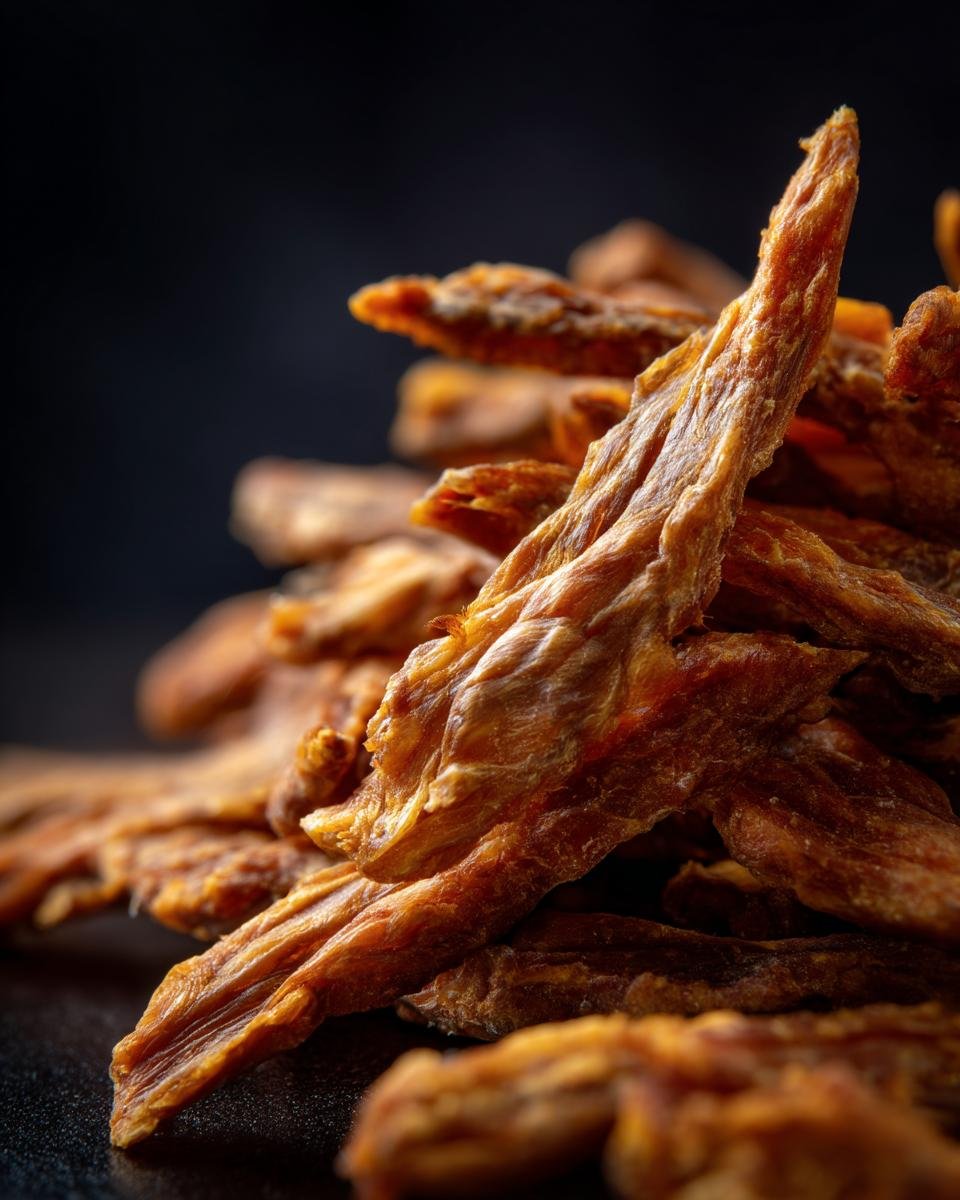
- Slice it Evenly: I know I mentioned it before, but seriously, try your best to slice all the chicken strips about the same thickness (around 1/4 inch is great!). This means they’ll all finish drying at roughly the same time, so you don’t end up with some pieces that are too soft and others that are like rock-hard chips.
- Rotate Those Sheets: If you’re using two baking sheets, swap their positions in the oven halfway through the drying time. This helps ensure even drying, especially if your oven has hot spots like mine does!
- Don’t Rush the Drying: This is the most important tip! Make *sure* the chicken is completely dry and chewy all the way through. Any lingering moisture can be a breeding ground for nasty stuff you definitely don’t want your dog eating. When in doubt, give it a little more time in the oven. Better safe than sorry!
Storing Your Homemade Chicken Jerky for Dogs
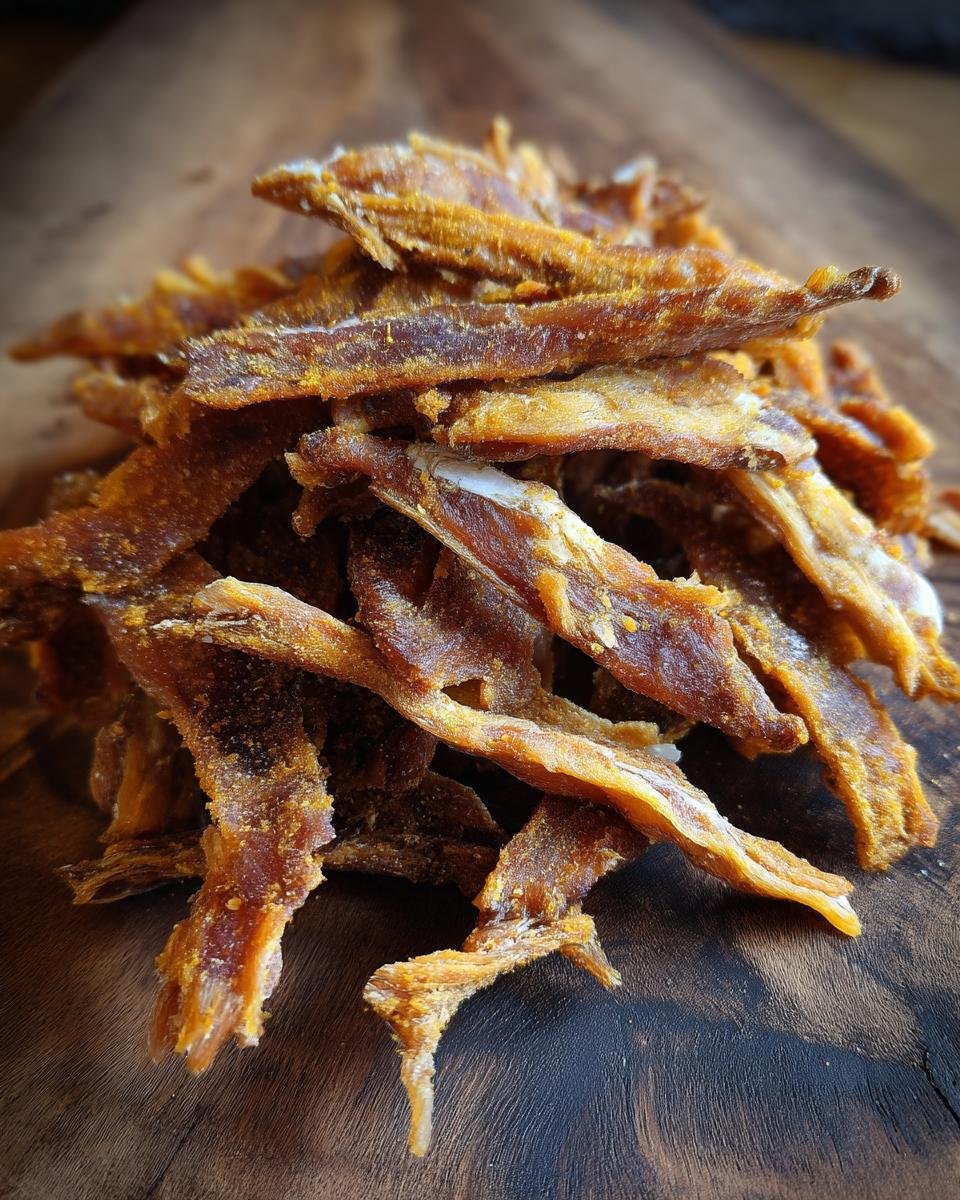
Okay, you’ve got a beautiful batch of homemade chicken jerky for dogs! Now, how do you keep it fresh and yummy for your furry friend? Proper storage is key to making sure these treats last and stay safe.
Once the jerky is *completely* cooled (and I mean *completely*!), you can store it in an airtight container. A glass jar with a tight lid or a sturdy plastic container works great. You can keep it at room temperature for about two weeks. If you want it to last even longer, pop the airtight container in the refrigerator – it should stay good for up to a month in there! Just grab a piece or two whenever your good boy (or girl!) deserves a special reward.
Frequently Asked Questions About Chicken Jerky for Dogs Homemade
Got questions about making chicken jerky for dogs homemade? Totally understandable! Here are a few things people often ask me, and my best answers:
Q: How long does this homemade chicken jerky for dogs actually last?
A: If you store it properly in an airtight container, it should last about two weeks at room temperature or up to a month in the fridge. Just watch for any signs of mold or off smells – if something looks or smells weird, toss it!
Q: Can I use other kinds of meat besides chicken for this recipe?
A: Absolutely! You can totally adapt this recipe to make jerky with other lean meats like turkey or even beef (just make sure it’s lean!). The process is pretty much the same, just slice thin and dry low and slow in the oven.
Q: Is this chicken jerky for dogs suitable for all dogs?
A: For most healthy adult dogs, yes! It’s a great, simple treat. However, if your dog has any health issues, allergies, or dietary restrictions, it’s always a good idea to chat with your vet before introducing any new treats, homemade or otherwise.
Q: My jerky isn’t getting chewy, it’s getting brittle! What happened?
A: Sounds like it might have over-dried a little! This usually happens if the slices were too thin or if it baked for too long. Try slicing a little thicker next time and start checking for doneness a bit earlier in the baking time.
Estimated Nutritional Information Disclaimer for Chicken Jerky for Dogs Homemade
Okay, so about the nutrition facts for this homemade chicken jerky for dogs… because we’re using just one ingredient and things like the exact size of the chicken breast or the brand you buy can vary, it’s really tough to give you precise nutritional information like calories, protein, etc. Think of it like trying to measure the nutrition of a single apple – it changes based on the size and type, right? So, please know that any nutritional values you might find online for homemade chicken jerky are just estimates. I can’t provide exact numbers here, but you can be confident you’re giving your dog a lean, protein-packed treat without any added sugars or fats!
Print
awful one ingredient chicken jerky for dogs homemade
- Total Time: 2 hours 15 minutes
- Yield: Varies
- Diet: Halal
Description
Make healthy chicken jerky for your dog at home. It’s a simple recipe with just one ingredient.
Ingredients
- 1 pound boneless, skinless chicken breast
Instructions
- Preheat your oven to 200°F (93°C).
- Trim any fat from the chicken breasts.
- Slice the chicken breasts into thin strips, about 1/4 inch thick.
- Place the chicken strips in a single layer on a baking sheet lined with parchment paper.
- Bake for 2 to 3 hours, or until the chicken is dry and chewy.
- Let the jerky cool completely before giving it to your dog.
- Store in an airtight container at room temperature for up to 2 weeks, or in the refrigerator for up to a month.
Notes
- Ensure the chicken is fully cooked and dried to prevent spoilage.
- Always supervise your dog when they are eating treats.
- Adjust baking time based on the thickness of your chicken slices.
- Prep Time: 15 minutes
- Cook Time: 2 hours
- Category: Treat
- Method: Baking
- Cuisine: Pet Food
Nutrition
- Serving Size: 1 piece
- Calories: Varies
- Sugar: 0g
- Sodium: Varies
- Fat: Varies
- Saturated Fat: Varies
- Unsaturated Fat: Varies
- Trans Fat: 0g
- Carbohydrates: 0g
- Fiber: 0g
- Protein: Varies
- Cholesterol: Varies