
Okay, confession time! My dog, Buster, is basically my shadow in the kitchen. The moment I start messing with peanut butter, his tail goes into overdrive! That’s what first got me hooked on making homemade peanut butter dog treats. Seriously, there’s something so ridiculously satisfying about whipping up a batch of simple, wholesome goodies for your best furry friend.
Forget those store-bought bags with ingredients you can’t pronounce. These easy peanut butter dog treats use stuff you probably already have in your pantry! It makes me feel good knowing exactly what’s going into Buster’s happy tummy, and honestly, he goes absolutely bonkers for them. Watching him do his little happy dance when I pull the treat tin out? Pure gold.
Plus, they’re ridiculously simple to make. We’re talking minimal fuss, minimal ingredients, and maximum tail wags. If I can do it (and trust me, I’ve had my share of kitchen disasters!), you definitely can too. Get ready to become your dog’s favorite baker!
Why Your Dog Will Love These Peanut Butter Dog Treats
Okay, let’s be real – dogs aren’t usually picky eaters, right? But there’s a huge difference between “eats it” and “goes absolutely bonkers for it!” And trust me, these peanut butter dog treats fall firmly into the “bonkers” category. Here’s why your furry pal is going to be begging for more:
- Simple, Wholesome Ingredients: You know *exactly* what’s in these treats. No mystery fillers or weird chemicals! Just good, simple stuff.
- That Irresistible Peanut Butter Taste: I mean, come on, it’s PEANUT BUTTER! Most dogs are obsessed, and this recipe lets that amazing flavor shine through.
- Made with Love (by YOU!): There’s something special about giving your dog a treat you made yourself. They totally sense the love, even if they just care about the taste!
- A Healthier Option: Compared to a lot of commercial treats loaded with sugar and artificial colors, these are a much better choice for your dog’s health.
- Super Easy for Their Human: Seriously, you can whip these up in no time. Happy human, happy dog!
Basically, they taste amazing, are good for them, and you made them! It’s a win-win-win.

Ingredients for Easy Peanut Butter Dog Treats
Alright, let’s talk about what you need to make these magical little bites! The beauty of this recipe is how simple the ingredient list is. You probably have most of this stuff hanging out in your pantry already. Just make SURE you grab:
- 1 cup whole wheat flour: Gives them a nice, hearty base.
- 1/2 cup creamy peanut butter (xylitol-free!): This is the star of the show! BUT, and this is super important, double-check that your peanut butter *does not* contain xylitol. It’s a sugar substitute that’s really toxic to dogs. Stick to the simple stuff with just peanuts!
- 1/4 cup unsweetened applesauce: This adds moisture and a little natural sweetness without any added sugar.
- 1/4 cup rolled oats (optional): I love adding these for a little extra texture and goodness, but if you don’t have them, no worries!
See? Told you it was simple! Just a few things stand between you and some very happy tail wags.
Equipment Needed to Make Peanut Butter Dog Treats
Okay, so you’ve got your simple ingredients ready to go! Now, let’s gather up the tools. You don’t need anything fancy here, just your basic kitchen gear. Here’s what I always have on hand when I make a batch:
- A good mixing bowl: Gotta have something to get all those lovely ingredients together!
- A baking sheet: For, you know, baking the treats!
- Parchment paper: Trust me on this one – it makes cleanup a breeze and keeps the treats from sticking.
- A rolling pin: To roll out the dough nicely and evenly.
- Cookie cutters: This is the fun part! Grab whatever cute shapes you have, or even just use a knife to cut squares.
That’s it! See? Totally doable with everyday stuff.
Step-by-Step Guide: How to Make Peanut Butter Dog Treats
Alright, this is where the magic happens! Making these peanut butter dog treats is seriously easy, and I’m going to walk you through it step-by-step. Before you even start mixing, go ahead and preheat your oven to 350°F (that’s 175°C). And grab that baking sheet and line it with parchment paper. It makes life so much easier, trust me!
Preparing the Dough for Delicious Peanut Butter Dog Treats
Okay, first things first for the dough! Grab that medium bowl you got ready. You’re going to toss in the whole wheat flour, the creamy peanut butter (remember, xylitol-free!), and the unsweetened applesauce. Just dump ’em all in there!
Now, if you decided to add the rolled oats (I usually do!), stir those in right now too. Grab a spoon or a spatula and start mixing everything together. It’ll look a little crumbly at first, but just keep going. Keep mixing until everything comes together and you’ve got a nice, cohesive dough. It should be pretty firm, not sticky. If it seems too dry, you can add just a *tiny* splash of water, like maybe a teaspoon at a time. If it’s too sticky, add a little more flour, maybe a tablespoon. You want a dough that you can handle without it sticking all over your hands.
Rolling and Cutting Your Homemade Peanut Butter Dog Treats
Now for the fun part – shaping! Lightly flour your counter or a cutting board. Take your dough and plop it onto the floured surface. Grab your rolling pin and roll the dough out. You’re aiming for about 1/4 inch thick. Don’t go too thin or they’ll be super crispy, and don’t leave them too thick or they’ll take forever to bake through.
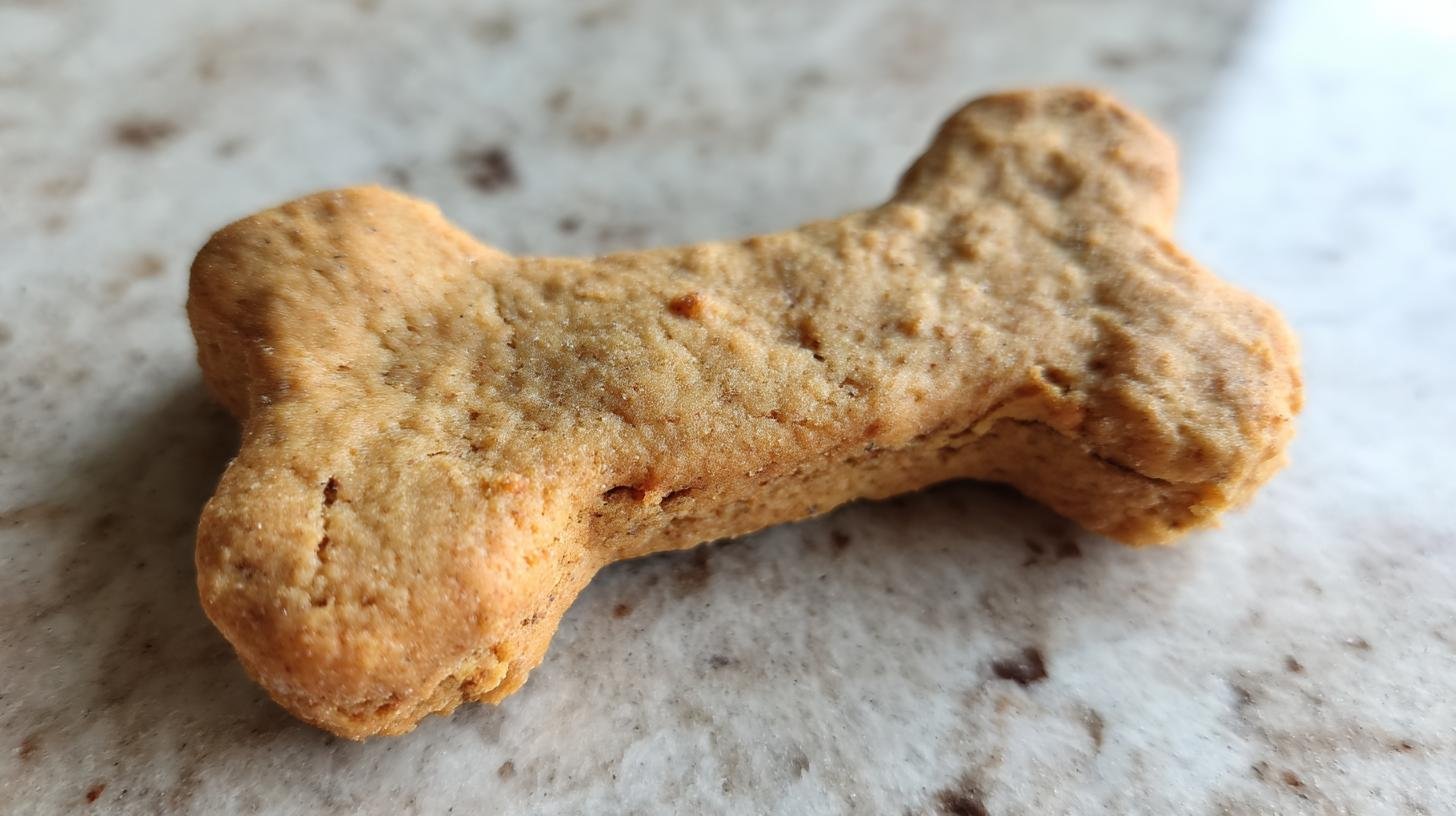
Once it’s rolled out, grab your cookie cutters! This is where you can get creative. I love using bone shapes, but any shape works! Press the cutters firmly into the dough and lift out the shapes. Gather up the scraps, squish them together, and roll them out again to cut more treats until you’ve used all the dough.
Baking and Cooling Your Peanut Butter Dog Treats
Carefully place your cut-out treats onto your prepared baking sheet. Try not to crowd them too much, give them a little space.
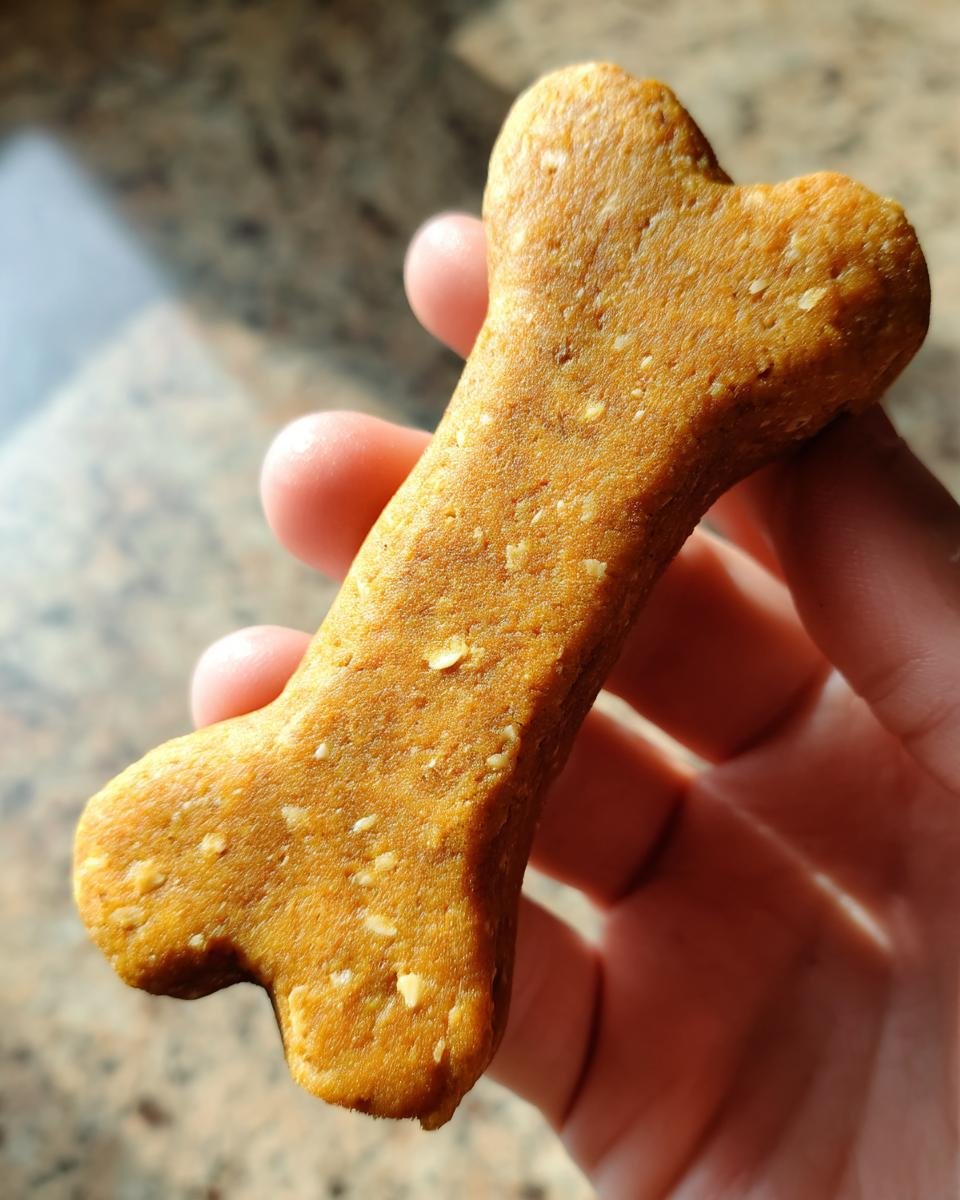
Pop the baking sheet into your preheated oven. They’ll need about 18-20 minutes to bake. Keep an eye on them! You want them to be golden brown around the edges and feel firm when you gently press on them. They won’t puff up a ton, which is totally normal for this kind of treat.
Once they look done, take them out of the oven and leave them right on the baking sheet for a few minutes. Then, carefully transfer them to a wire rack to cool COMPLETELY. This is important! Don’t give them to your dog while they’re still warm; they need to firm up as they cool. Once they’re totally cool to the touch, they’re ready for taste-testing! (By your dog, of course!)
Tips for Perfect Peanut Butter Dog Treats
Making these treats is pretty straightforward, but like any recipe, a few little tricks can make all the difference between “good” and “OMG, where did you get these?!” (From your dog’s perspective, of course!). Here are my go-to tips for getting perfect peanut butter dog treats every time:
- Mind the Dough Consistency: This is probably the biggest one. Your dough should feel like a firm cookie dough, not sticky and not crumbly. If it’s too sticky and hard to handle, add a tablespoon of whole wheat flour at a time until it feels right. If it’s too dry and won’t come together, add just a tiny splash of water, like a teaspoon, and mix it in. You’ll get a feel for it!
- Roll for Evenness: Try your best to roll the dough to an even thickness, around 1/4 inch. If some treats are thicker than others, they’ll bake unevenly – some might be too hard while others are still soft in the middle. Even thickness means even baking!
- How to Tell They’re Done: They won’t get super brown, but you’re looking for a nice golden color around the edges. They should also feel firm when you gently tap or press on them. If they still feel soft and squishy in the middle, give them another minute or two in the oven.
Follow these simple tips, and you’ll be churning out perfect, tail-wagging treats in no time!
Storing Your Homemade Peanut Butter Dog Treats
Okay, so you’ve made a batch (or maybe two!) of these awesome peanut butter dog treats, and now you need to keep them fresh for maximum doggy enjoyment. Good news – it’s super easy! Once they’re completely cool (remember, totally cool!), just pop them into an airtight container. They’ll stay fresh at room temperature on your counter for about a week. If you want them to last longer, like if you made a big batch (smart!), you can stash them in the fridge for a couple of weeks or even freeze them for several months. Just thaw them before giving them to your pup!
Peanut Butter Dog Treats: Frequently Asked Questions
Okay, I know when you’re making something homemade for your best friend, you might have a few questions pop up! That’s totally normal. Here are some common things people ask about these peanut butter dog treats:
Can I use different flour? Absolutely! I use whole wheat because it’s nice and hearty, but you could totally swap it for all-purpose flour if that’s what you have. Some folks even use oat flour or a gluten-free blend, just make sure it’s safe for dogs.
Is crunchy peanut butter okay? Yep! Creamy is usually easier to mix smoothly into the dough, but crunchy works just fine. Your dog probably won’t care one bit, they’ll just be happy it’s peanut butter!
How many treats can I give my dog? These are treats, so they should be given in moderation, just like any other snack. The right amount depends on your dog’s size, activity level, and overall diet. A good rule of thumb is that treats shouldn’t make up more than 10% of their daily calories. When in doubt, always check with your vet!
Are these suitable for puppies? Generally, yes! These treats use simple, wholesome ingredients. Just make sure your puppy is old enough to be eating solid food and can handle the texture. Again, moderation is key for little tummies!
Can I add other ingredients? You sure can! This is a great base recipe. You could stir in some shredded carrots, a little bit of pumpkin puree (not pumpkin pie filling!), or some finely chopped parsley for fresh breath. Just make sure anything you add is safe for dogs!
Estimated Nutritional Information
Okay, while I can’t give you exact numbers (because ingredients and brands vary!), this is a homemade treat. Think of the nutritional info here as just a general idea. Since you’re using simple, whole ingredients, you know they’re way better than mystery store-bought stuff! Just remember that these are treats, so moderation is always the way to go for your furry friend’s diet.
Share Your Experience with These Peanut Butter Dog Treats
Okay, now it’s YOUR turn! I would absolutely LOVE to hear how these peanut butter dog treats turned out for you and your furry best friend. Did your dog do a happy dance? What cookie cutters did you use? Please, please, please leave a comment below and tell me all about it! Even better, if you snap a picture of your pup enjoying their homemade goodness, tag me on social media! Seeing those happy faces makes my day. Don’t forget to rate the recipe too!
Print
3 ingredient peanut butter dog treats amazing
- Total Time: 35 minutes
- Yield: About 12-15 treats (depending on size) 1x
- Diet: Vegetarian
Description
Easy homemade peanut butter dog treats. Simple ingredients your dog will love.
Ingredients
- 1 cup whole wheat flour
- 1/2 cup creamy peanut butter
- 1/4 cup unsweetened applesauce
- Optional: 1/4 cup rolled oats
Instructions
- Preheat oven to 350°F (175°C). Line a baking sheet with parchment paper.
- In a medium bowl, combine flour, peanut butter, and applesauce.
- If using, stir in rolled oats.
- Mix until a dough forms.
- Roll dough to about 1/4 inch thickness on a lightly floured surface.
- Cut out shapes using cookie cutters.
- Place treats on the prepared baking sheet.
- Bake for 18-20 minutes, or until golden brown and firm.
- Let cool completely before giving to your dog.
Notes
- Store treats in an airtight container at room temperature for up to a week.
- For longer storage, refrigerate or freeze.
- Ensure peanut butter does not contain xylitol, which is toxic to dogs.
- Prep Time: 15 minutes
- Cook Time: 20 minutes
- Category: Dog Treats
- Method: Baking
- Cuisine: Dog Food
Nutrition
- Serving Size: 1 treat (approximate)