
Making homemade peanut butter dog treats is a great way to show your pet love. This simple recipe uses common ingredients like flour, eggs, and peanut butter. It’s perfect for anyone who loves their pets.
Why buy treats when you can make your own? These recipes let you avoid artificial additives. Instead, you use quality ingredients your dog will love.
Baking together is a fun, hands-on experience. It’s something you and your dog will both enjoy.
Key Takeaways
- Simple ingredients make these homemade peanut butter dog treats easy to prepare.
- Cut out store-bought additives with this easy cookie recipe tailored for pets.
- Baking together strengthens your connection with your furry family member.
- No experience? This recipe works for first-time bakers and pros alike.
- Customize treats to match your dog’s tastes or dietary needs.
Why Your Furry Friend Deserves Homemade Treats
Every dog owner wants the best for their pet. But many store-bought treats have hidden risks. Making homemade dog biscuits or diy dog treats is safer and healthier. Your dog will love them.
The Problem with Store-Bought Dog Treats
Commercial treats often have fillers like corn syrup and artificial dyes. These can upset your dog’s stomach. Some brands also use low-quality protein, leaving your pet hungry for real food.
Control Over Ingredients and Quality
When you bake at home, you pick every ingredient. You can avoid wheat for dogs with allergies. Use organic peanut butter or turkey for more protein. This makes sure your dog gets what they need.
Strengthening Your Bond Through Baking
Baking homemade dog biscuits together makes memories. Kids can help mix the dough, and you can add special touches like heart shapes. It’s a way to spend quality time, making treats that show your love.
The Benefits of Peanut Butter for Dogs
Peanut butter is a favorite among humans and dogs alike. It’s packed with nutrients that support a dog’s health and happiness. Peanut butter treats for dogs are a safe and tasty way to give them a boost.
These treats are full of healthy fats. These fats help keep a dog’s coat shiny and their joints flexible. They also provide protein, vitamins B and E, which support energy and immune function.
- Protein boost: Peanut butter contains plant-based protein, helping maintain muscle health.
- Vitamins galore: Vitamins B and E in peanut butter support energy and immune function.
- Safe indulgence: When made with plain, unsalted varieties, these treats avoid harmful additives.
“Xylitol, a common sweetener in human peanut butter, is deadly to dogs. Always check labels and choose unsweetened options.”
Choose natural peanut butter without added sugars or artificial flavors. Peanut butter’s rich taste makes it perfect for peanut butter treats for dogs. These treats can reward good behavior or add variety to their diet.
Remember, treats should only be a small part of their daily food. This way, you can nourish and bond with your pet safely. Next, we’ll explore the best ingredients for safe and tasty treats.
Essential Ingredients for Homemade Peanut Butter Dog Treats: Easy Cookie Recipe
Every batch of peanut butter dog cookies starts with the right ingredients. These basics ensure treats that are both safe and tasty for your pet. Follow this simple dog treat recipe with confidence using the guide below.
Choosing the Right Peanut Butter
Choose peanut butter without xylitol and added sugars. Opt for natural brands like Smuckers Natural or Jif Creamy. This peanut butter adds protein and healthy fats but must be unsalted to avoid excess sodium.
Safe Flour Options for Dog Treats
| Flour Type | Benefits | Notes |
|---|---|---|
| Whole Wheat | Fiber-rich, supports digestion | May need less water |
| Oat Flour | Gluten-free, easy to digest | Blend oats in a blender |
| Coconut Flour | Low carb, high in MCTs | Use ¼ cup for every 1 cup of other flours |
Binding Ingredients That Work Best
- Eggs: Natural binder and protein source
- Applesauce: Adds moisture and fiber (unsweetened only)
- Vegetable Glycerin: Keeps treats soft and moist
Optional Add-ins for Extra Nutrition
Boost nutrition with:
- Pumpkin puree (supports digestion)
- Carrot shreds (vitamin A boost)
- Blueberries (antioxidants)
Always introduce new add-ins slowly to avoid stomach upset.
Kitchen Tools You’ll Need
Starting to make homemade pet treats is easy. You probably have most of what you need in your kitchen already. Let’s look at what you really need and what’s nice to have.
Basic Equipment for Beginners
Every baker starts with these basics:
- Mixing bowls (glass or stainless steel)
- Mixing spoons and a whisk
- Measuring cups and spoons
- Baking sheet (rimmed works best)
- Parchment paper or silicone baking mat
- Cooking oil spray (pet-safe, like coconut oil)
Nice-to-Have Tools for Regular Treat Makers
These extras can make baking easier but aren’t necessary:
- Pet-themed cookie cutters (like bone shapes)
- Stand mixer (e.g., KitchenAid for large batches)
- Pet treat storage containers (e.g., Tupperware airtight)
| Tool Type | Basic | Nice-to-Have |
|---|---|---|
| Baking surface | Parchment paper | Silicone mats |
| Mixing | Wooden spoons | Hand mixer |
| Storage | Ziplock bags | Labeling markers |
Even with just the basics, you can make tasty homemade pet treats. Start simple and add more tools as you try new things. Your dog will love the treats, not the packaging!
Step-by-Step Instructions for Perfect Peanut Butter Dog Cookies
Follow this simple dog-friendly cookie recipe to make safe, delicious treats your pet will love. No experience? Don’t worry—this guide breaks it down step by step.
| Ingredient | Amount (US Standard/Metric) |
|---|---|
| Peanut butter | ½ cup / 120g |
| Flour | 1½ cups / 180g |
| Egg | 1 large (room temperature) |
| Oat flour | ¼ cup / 30g (optional) |
- Preheat oven to 350°F (175°C). Line a baking sheet with parchment paper.
- In a bowl, mix peanut butter, egg, and flour until dough forms. Add oat flour if too sticky.
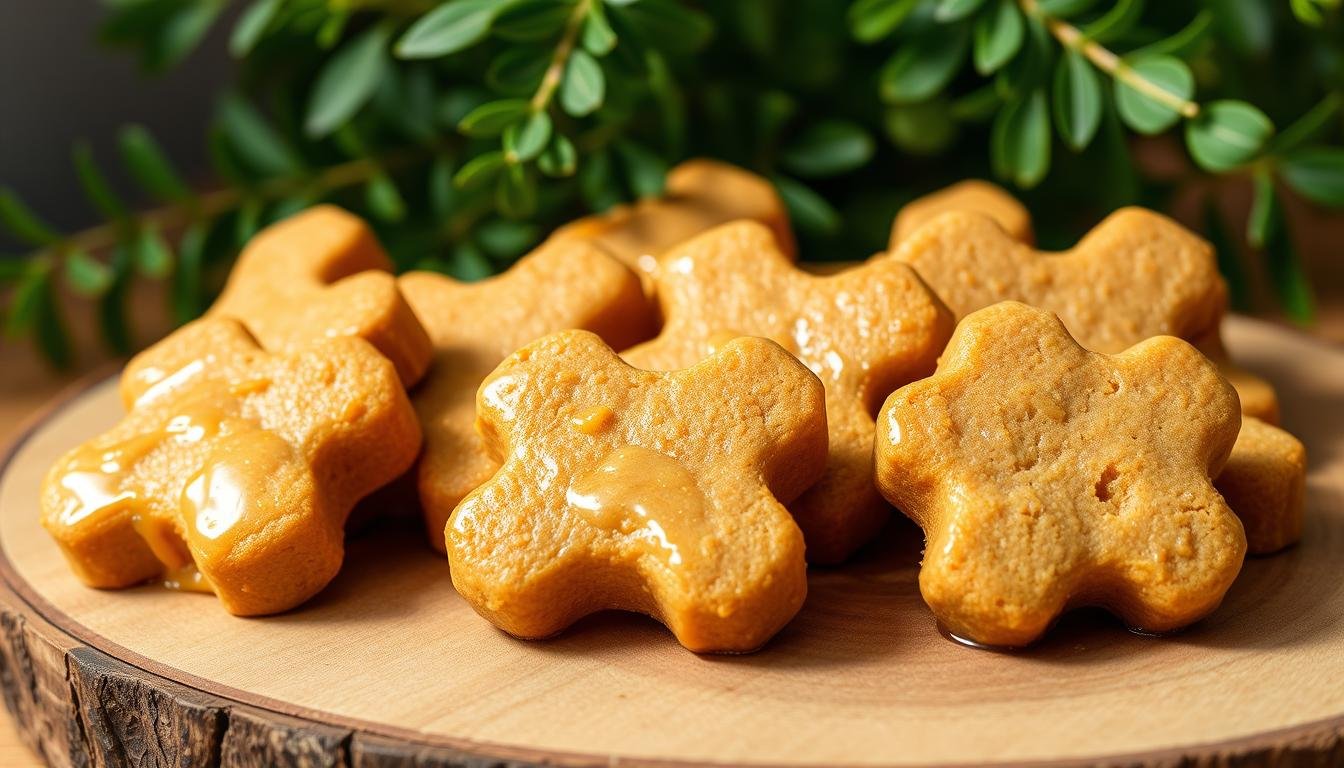
- Roll dough into 1-inch balls and flatten into cookies. Use a fork to press designs for texture.
- Bake 12-15 minutes until edges are golden. Cool completely on the sheet to set properly.
Tip: Test dough consistency—add flour if too wet or water if too dry. Always let treats cool fully before serving.
With this dog-friendly cookie recipe, baking becomes easy. Your dog’s tail will wag the moment they see the tray come out of the oven!
Customizing Your DIY Dog Treats
Every dog is different, and so are their tastes and needs. Why not make your healthy dog treats as special as a wagging tail? Whether it’s for dietary needs or a special day, diy dog treats are full of possibilities. Let your creativity shine while keeping your pup’s health first.

Grain-Free Variations
Try these safe alternatives to traditional flour:
| Flour Type | Benefits |
|---|---|
| Chickpea flour | High protein, gluten-free, and sturdy for chewers |
| Coconut flour | Rich in fiber and ideal for sensitive stomachs |
Adding Fruits and Vegetables
- Pumpkin: Mash ¼ cup into batter for digestion support.
- Blueberries: Add 2-3 per treat for antioxidants.
- Carrots: Grate and mix in for vitamin A boost.
Always cook veggies first to break down tough fibers.
Special Occasion Treat Ideas
Make treats special with these ideas:
- Birthday Cakes: Use Greek yogurt frosting and freeze into shapes.
- Holiday Themes: Bake pumpkin-shaped treats in autumn or heart shapes for Valentine’s Day.
- Personalized Treats: Press paw print stamps into dough for a custom touch.
Always check with your vet before introducing new ingredients. With these tweaks, every batch becomes a loving gesture your dog will adore!
How to Store Your Homemade Pet Treats
Keeping homemade dog biscuits fresh and safe is key. Follow these steps to keep them in top condition:
Counter Storage Duration
Place homemade pet treats in airtight containers at room temperature. Store them in a cool, dry place, away from sunlight. Use the chart below for storage times.
- Use glass or plastic containers with snap-tight lids
- Discard any uneaten treats after 14 days
Refrigeration Tips
Refrigeration can extend freshness to 30 days. Here’s how:
- Layer treats between parchment paper sheets
- Set refrigerator temperature to 37°F or below
- Check for condensation monthly and wipe containers dry
Freezing for Longer Shelf Life
Freezing treats in labeled bags can last up to 90 days. Here are some tips:
- Use freezer-safe ziplock bags
- Portion into weekly servings for easy access
- Thaw frozen treats overnight in the fridge
| Storage Method | Max Time | Key Tips |
|---|---|---|
| Cabinet Storage | 1-2 weeks | Avoid humid areas |
| Refrigeration | 1 month | Use breathable containers |
| Freezer Storage | 3 months | Label with dates |
Always inspect treats before serving – discard any with odd smells or textures. Proper storage keeps homemade dog biscuits fresh and crunchy.
Signs Your Dog Loves Your Homemade Peanut Butter Treats
Every wagging tail and eager face tells a story. Here’s how to read your dog’s love language for peanut butter treats for dogs:
- Tail Twirls: A stiff, rapid wag signals excitement. Watch for this when you pull out the treat jar!
- Drool Dreams: Puddles of drool near the mixing bowl mean your recipe hits the spot.
- Follow-the-Cookie: If they shadow you while you bake, they’re invested in the process.
“A dog’s joy is measured in the speed they drop everything for a treat,” says canine behaviorist Dr. Mia Collins.
Subtle clues matter too. Dogs may gently nudge your hand for more or linger near the treat storage area later. Some tilt their heads when you mention “kitchen”—a silent plea for future batches.
Seeing these reactions means your effort paid off. Those peanut butter treats for dogs aren’t just snacks; they’re moments of shared happiness. Celebrate the tail wags, the eager eyes, and the bond that grows with every homemade batch.
Common Mistakes to Avoid When Making Dog-Friendly Cookies
Making dog-friendly cookie recipe at home is rewarding, but small errors can turn good intentions into hazards. Here’s how to sidestep the most frequent pitfalls and ensure your healthy dog treats stay safe and delicious.

Ingredient Errors That Could Harm Your Dog
- Never add chocolate, xylitol, raisins, or onions—these can cause poisoning or organ damage.
- Always check peanut butter labels for xylitol, a common sweetener harmful to dogs.
- Stick to vet-approved ingredients like oat flour or carrots to avoid allergic reactions.
Texture and Baking Problems
- Over-baking hardens treats; set a timer for 15-20 minutes and check for golden edges.
- Under-mixed dough leads to crumbling—mix until ingredients form a smooth ball.
- Use parchment paper to prevent sticking without added oils.
Storage Mistakes That Lead to Spoilage
- Never leave baked treats at room temperature for more than 2 hours to avoid bacteria growth.
- Use airtight containers—ziplock bags let moisture in, causing mold.
- Freeze extras in labeled bags for up to 3 months instead of leaving them on the counter.
Healthy Variations for Dogs with Special Dietary Needs
Every dog deserves tasty treats that fit their unique needs. Whether your pup has allergies, weight goals, or age-related health concerns, a simple dog treat recipe can adapt. Here’s how to tweak the basics for safety and nutrition.
- Allergies: Swap peanut butter for sunflower seed butter and use oat flour for gluten-free healthy dog treats.
- Weight Management: Reduce oil, add pumpkin puree, and use egg whites for a lighter option.
- Senior Dogs: Add joint-support supplements like glucosamine powder (always check vet-approved amounts).
- Diabetes: Substitute peanut butter with low-sugar almond butter and use stevia as a sugar-free sweetener.
- Kidney Issues: Lower protein content by reducing peanut butter portions and adding fiber-rich veggies like carrots.
Always consult your vet before changing your dog’s diet. These adjustments keep the simple dog treat recipe safe while maintaining the joy of homemade baking. Small changes mean every dog can enjoy treats tailored just for them!
Turning Treat-Making into a Family Activity
Make kitchen time special by getting everyone involved in making homemade peanut butter dog treats. This activity teaches kids about responsibility and makes your dog happy. Let’s see how to turn baking peanut butter dog cookies into a fun family project.
Kid-Friendly Steps in the Process
Even little kids can help out! Give them tasks like:
- Mixing dough under adult watch
- Pressing cookie cutters into dough
- Decorating with safe, edible toppings
Creating Custom Shapes and Designs
Get creative with shapes that match the season. Use holiday cutters for Christmas trees or pumpkins. Add colors with food-safe dyes or sprinkle cinnamon for a festive touch. Kids can make unique molds with cookie cutters from brands like Wilton or FunShapes.
Making Treats as Gifts for Other Dog Owners
Wrap homemade peanut butter dog treats in mason jars with bows. Add a recipe card for friends to try. Share with local shelters for a kind gesture. Give themed batches for birthdays or holidays.
Conclusion
Making homemade peanut butter dog treats is a rewarding experience. This easy cookie recipe lets you control ingredients, ensuring only the best goes into every batch. Baking together strengthens your bond and lets you create flavors your dog loves.
A simple dog treat recipe like this saves your pet from unnecessary additives while offering wholesome enjoyment. The process is quick, and the joy on their face is the perfect reward. Try it today and see the difference homemade care makes.
Share your baking adventures and watch your furry friend’s excitement grow. Prioritize their health with a treat they’ll love—because every dog deserves something special made just for them.
FAQ
What ingredients do I need to make homemade peanut butter dog treats?
To make easy homemade peanut butter dog treats, you’ll need peanut butter (without xylitol), flour (like whole wheat or oat), eggs, and water or applesauce for moisture. You can also add pumpkin or carrots for extra nutrition.
Can I use any type of peanut butter for my dog treats?
No, you should only use plain, unsweetened peanut butter without xylitol. It’s toxic to dogs. Choose natural varieties with just peanuts and maybe a bit of salt.
Are homemade dog biscuits better than store-bought ones?
Yes! Homemade dog biscuits let you control the ingredients, avoiding harmful additives or preservatives. You can also make flavors your dog loves and meets their dietary needs.
How long do homemade dog treats last?
Homemade dog treats last about 1-2 weeks in an airtight container at room temperature. Refrigeration can extend their life up to a month. Freezing can keep them fresh for up to 3 months.
Can I customize the recipe to cater to my dog’s dietary restrictions?
Yes! You can change the recipe by using grain-free flours for dogs with sensitivities. Add fruits and vegetables for extra nutrition. Always check with your vet before making any dietary changes.
What tools do I need to make these dog-friendly cookie recipes?
You’ll need basic kitchen tools like mixing bowls, measuring cups, baking sheets, and parchment paper. Dog-themed cookie cutters and silicone mats can make it fun, but they’re not essential.
How do I know if my dog loves the homemade peanut butter treats?
If your dog shows excitement when you make the treats, like wagging their tail or drooling, it’s a good sign. Gentle taking, looking for more, or returning to the treat area are also positive signs.
What are common mistakes to avoid when baking dog treats?
Avoid using harmful ingredients like chocolate or onions. Watch the baking time to prevent hard or unevenly cooked treats. Proper storage is key to keeping them fresh.
Can kids help in making dog treats?
Yes! Making dog treats can be a fun family activity. Kids can help with mixing, using cookie cutters, and decorating. It’s a great way for them to learn about cooking and caring for pets.