
Let me tell you about the day homemade training treats for dogs changed everything between me and my stubborn-as-a-mule Golden Retriever, Biscuit. We’d been working on “leave it” for weeks using store-bought kibble, but the moment a squirrel appeared? Those boring pellets might as well have been cardboard. Then I tried whipping up peanut butter bites in my kitchen one desperate Tuesday afternoon – suddenly I had his undivided attention (and drool) like magic.
Here’s the thing about training treats for dogs – they need to be tiny, smelly enough to cut through distractions, and healthy enough that you’re not undoing all your “sit-stay” work with junk calories. After three years of trial-and-error (and one memorable incident involving minty treats and a very confused Beagle), I’ve perfected this recipe that’s become my secret weapon for puppy classes and my own pack’s training sessions.
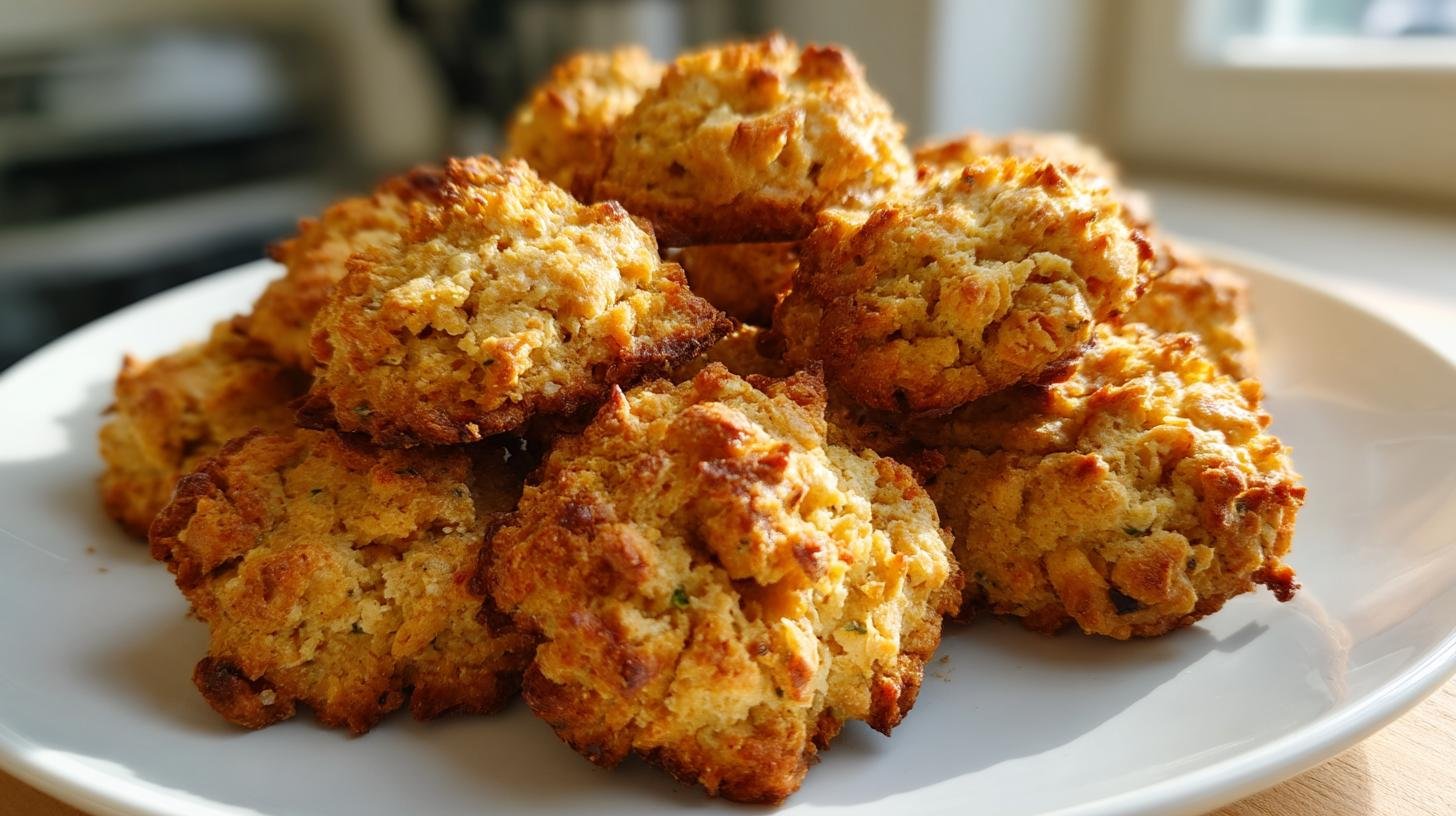
You’ll spot me making these weekly in my flour-dusted kitchen, always doubling the batch for my neighbor’s excitable Lab who’s learned to “sit” just for a whiff of these. What makes these different? No mystery ingredients hiding behind terms like “animal digest” – just real peanut butter I can pronounce, oats from my breakfast stash, and a sneaky sprinkle of parsley that keeps doggy breath fresh between those slobbery reward sessions. Pro tip: Always check your peanut butter for xylitol, that sneaky sweetener that’s toxic to dogs – I learned that lesson the hard way after a panicked vet visit in 2019.
Trust me, there’s nothing like seeing your dog’s ears perk up at the crinkle of the treat jar you filled yourself. These little bites aren’t just training tools – they’re edible love notes that say “Good boy!” in every crunchy, tail-wagging mouthful.
Why These Training Treats for Dogs Work Best
Biscuit went from ignoring commands to laser-focused obedience once these treats entered the picture – here’s why they’re my training MVP:
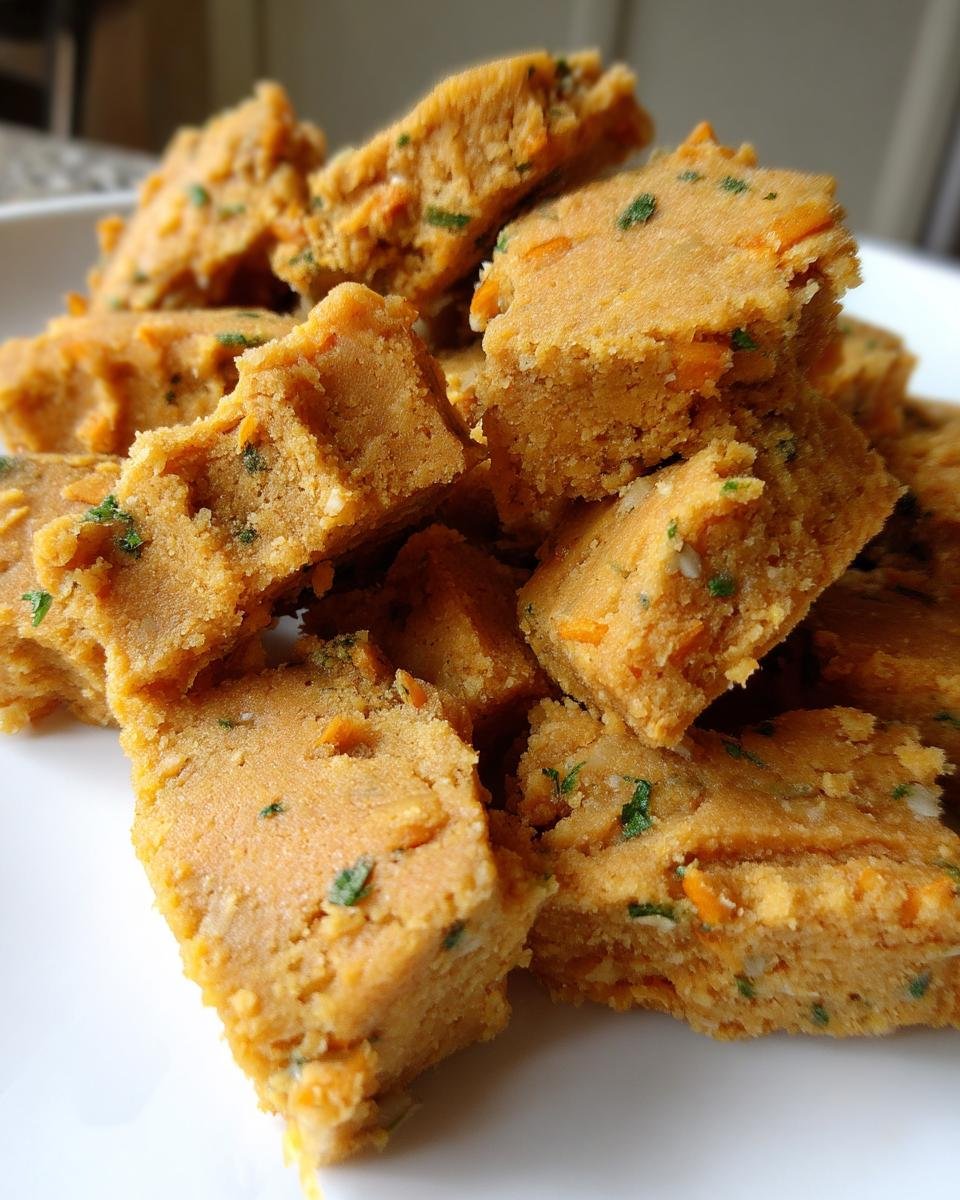
- Pinky-nail size matters: At just ½” wide, these let you reward 50+ times per batch without overfeeding (crucial when teaching complex tricks)
- Peanut butter’s secret weapon: That rich, nutty aroma cuts through park distractions better than any store-bought treat I’ve tested
- Parsley’s double duty: My optional fresh herb addition fights bad breath – perfect for pups who celebrate success with face licks
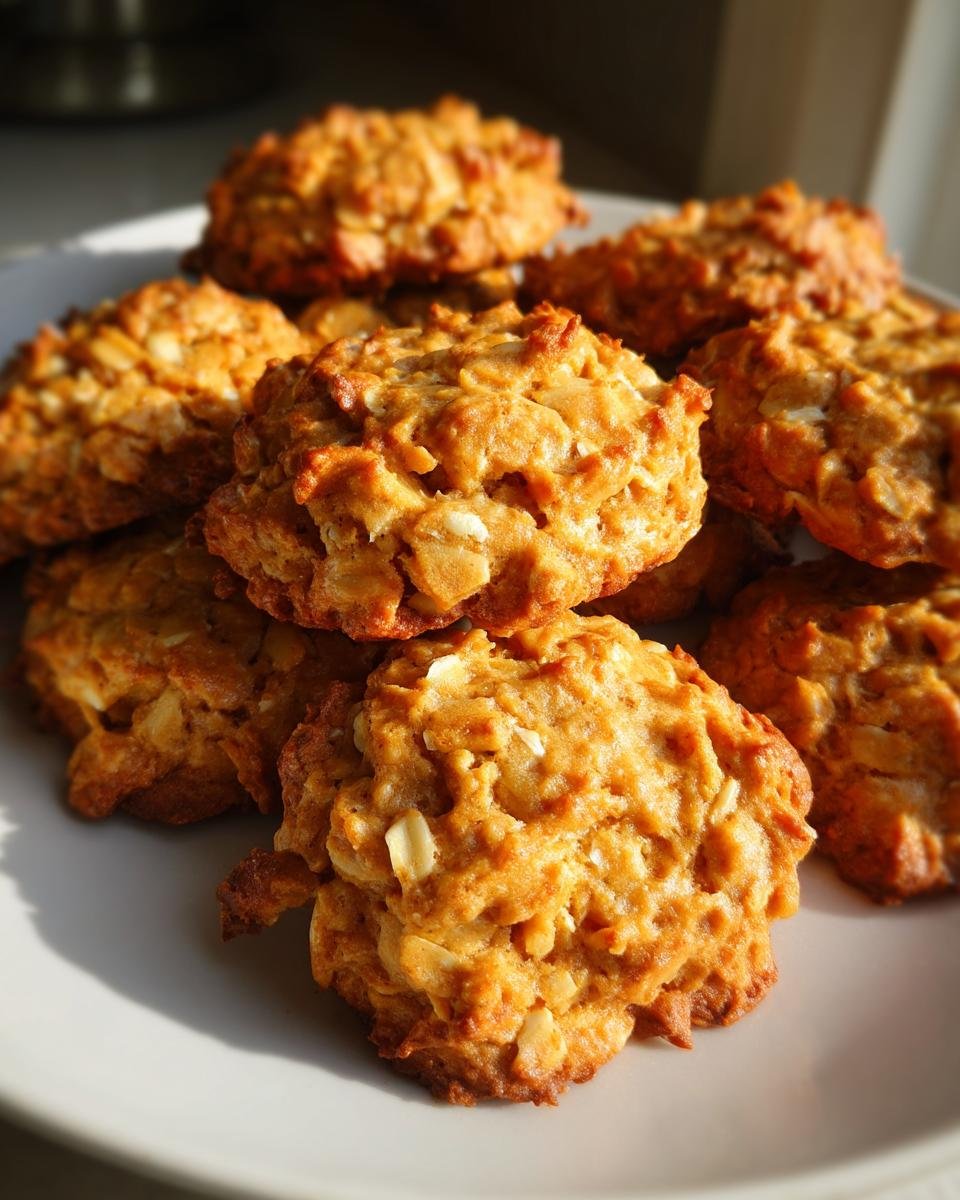
- Crunch factor: The satisfying snap when dogs bite down signals “job well done” faster than squishy treats
I’ve watched shy shelter dogs transform into confident learners with these in my treat pouch. They’re not just snacks – they’re tiny motivation machines coated in everything dogs instinctively crave.
Essential Ingredients for Training Treats for Dogs
Let’s talk ingredients – this isn’t just pantry dump stuff. I learned the hard way when my sister’s Shih Tzu turned up his nose at my first batch (turns out, cold eggs make dough too crumbly). Here’s why each component matters:
- 1 cup whole wheat flour (not self-rising): The sturdy base that gives treats their satisfying crunch – all-purpose flour makes them too brittle
- 1/2 cup unsalted peanut butter (xylitol-free!): My golden rule? Smear some on the jar lid – if your dog doesn’t lick it obsessively, find a new brand
- 1 large egg (room temp): Cold eggs = stubborn dough. I leave mine out while preheating the oven – it binds everything without weird lumps
- That sneaky parsley: Optional, but my dog’s breath went from “dead fish” to “mildly herbaceous” after two weeks of these treats
Pro tip: I keep a permanent marker in my baking drawer to circle “xylitol-free” on peanut butter lids – because one brain-fogged grocery trip shouldn’t risk your pup’s health.
Step-by-Step Training Treats for Dogs Baking Guide
Here’s how I get those perfect little crunchies every time – the same method I use while juggling a hyper puppy trying to counter-surf for samples. First rule? Oven preheated to 350°F before you touch a mixing bowl. Dogs sense baking vibes, I swear – Biscuit materializes the second that dial clicks on.
Mixing and Shaping Tips
Roll that dough like you’re making mini pizza crusts – ¼ inch thick is the sweet spot. Too thin and they’ll burn faster than a Chihuahua chasing a laser pointer. I use Grandma’s old rolling pin dusted with just a whisper of flour (overdo it and your treats will taste like chalk). Pro tip: Press cookie cutters straight down – no twisting! Those bone shapes release cleaner when you lift vertically. Found that out after a batch of “puppy blobs” that still made my Lab swoon.
Baking and Cooling Process
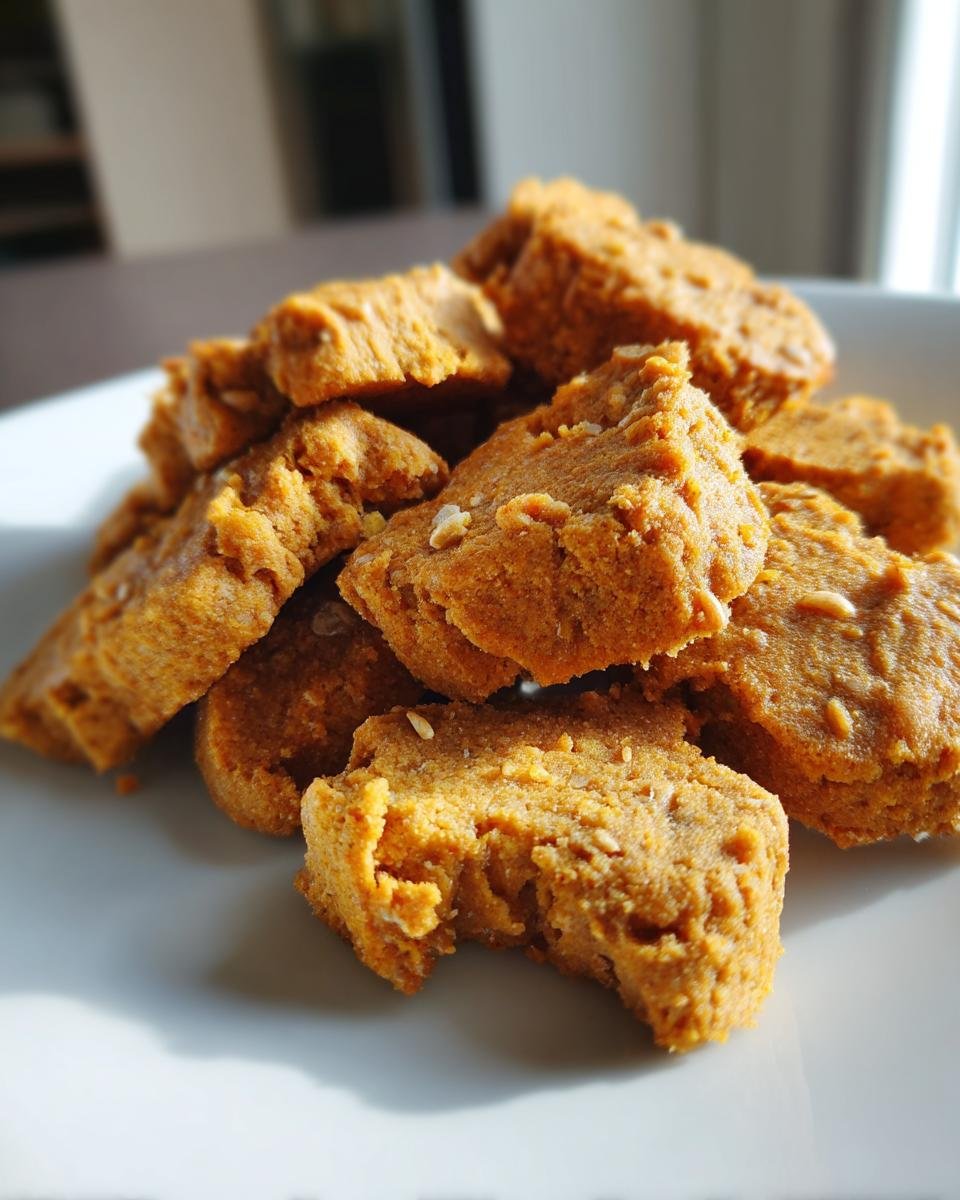
Watch those edges like a hawk at minute 15 – golden-brown means “done,” dark brown means “doggy disappointment.” I rotate pans halfway because my oven’s hotter than a husky in July. Cooling racks aren’t optional unless you want soggy bottoms – spread treats in a single layer and resist those begging eyes for 45 minutes. Test crispness by snapping one in half: a clean break means success, crumbs mean more baking time next batch.
Last week I got distracted by puppy cuddles and left a tray in too long. Turns out slightly charred treats still vanished faster than tennis balls at the park – dogs aren’t food critics, just enthusiastic taste-testers!
Customizing Your Training Treats for Dogs
My neighbor’s picky Chihuahua taught me the beauty of customization – that little diva turned up her nose at my original recipe until I swapped in pumpkin puree for the egg. Here’s how to tweak these training treats for dogs without causing a canine coup:
Pumpkin power: Swap the egg for ¼ cup pure pumpkin (not pie filling!) if your pup has sensitive tummies. My German Shepherd’s digestion improved so much, I started calling them his “gut-friendly gold stars.”
Flour freedom: Use gluten-free 1:1 baking flour for celiac pups – just add an extra tablespoon of peanut butter to combat crumbliness. Pro tip: Bob’s Red Mill works better than coconut flour here.
Liver lovers: Stir in a teaspoon of freeze-dried liver powder for scent-obsessed working dogs. My search-and-rescue trainee would scale Mount Everest for these stinky upgrades.
Danger zone alert: Never use chocolate chips (duh), raisins, or onion powder – I learned this after an emergency vet call about “healthy” grape-infused treats. Always check spice blends for hidden garlic or macadamia nuts too. Your spice rack isn’t puppy-proof!
Remember, dogs are creatures of habit – introduce new versions slowly. Though personally, I’ve yet to meet a dog who didn’t go wild for the bacon grease variation I tested last Thanksgiving (½ tbsp melted, cooled grease substituted for water). Just don’t tell my cardiologist.
Storing Homemade Training Treats Safely
Let me paint you a picture: Last summer, I left a batch of treats in a cute mason jar on the counter. Three days later, they’d turned into chewy science experiments – lesson learned! Here’s how I store them now:
Counter vs fridge: They’ll last 5 days at room temp if your kitchen isn’t a sauna. I refrigerate mine year-round because Biscuit thinks “airtight container” means “paw-operated treat dispenser.” Glass jars with latch lids foil even the craftiest snout.
Pro tip: Toss in a silica pack from your seaweed snack bag – it absorbs moisture that turns crisp treats limp. Divide big batches into weekly portions using snack bags. My freezer stash stays fresh for 3 months, ready to thaw when training emergencies strike (read: squirrel sightings).
Training Treats for Dogs FAQ
Let’s tackle the questions I get most at the dog park – usually while dogs are mid-“sit” and owners are frantically digging through my treat pouch:
“Can puppies eat these treats?”
Absolutely! I used these for Biscuit’s potty training at 10 weeks old. Just make the pieces pea-sized for tiny jaws – think “training confetti” rather than full cookies. My vet approved them as long as you factor treats into their daily calorie count.
“How many treats per session?”
For my neighbor’s Yorkie? 3-5 tiny bits. My Great Dane? Up to 10. Break them smaller than you think – dogs care more about frequency than size. I pretend each treat is a punctuation mark: “Good boy!” (crunch) “Stay…” (crunch) “Perfect!” (crunch).
“Can I use almond butter?”
Yes, but triple-check the label! I learned the hard way when a “natural” brand contained honey and sea salt. Stick to unsalted, additive-free versions. Though honestly? Most dogs prefer peanut butter’s stronger scent – my picky Poodle mix votes with her nose.
“Microwave option?”
Don’t do it! I tried once during a power outage and ended up with chewy rocks that could’ve doubled as hockey pucks. The oven’s dry heat creates that crucial crunch dogs love. Pro tip: Bake a big batch monthly – they freeze better than my enthusiasm for 6am walks.
When in doubt, ask your vet. But honestly? I’ve yet to meet a dog who didn’t lose their mind over these – even Mrs. Jenkins’ ancient, toothless Schnauzer who normally only licks broth cubes!
Nutritional Notes for Dog Owners
Here’s the truth – these training treats’ nutrition changes faster than a Greyhound’s zoomies depending on your peanut butter brand. My organic jar once added 20% more calories than the generic stuff! Always consult your vet if your pup has kidney issues or weight concerns – I adjusted Biscuit’s portions when his waistline started rivaling a Corgi’s. Pro tip: Treats should never exceed 10% of daily calories. Your vet’s guidance trumps any blog (yes, even mine) when it comes to special diets!
Share Your Success!
Nothing makes my day like seeing your pups rock their training with these treats! Snap a pic of your dog’s “cookie crumb beard” mid-session and tag me @BiscuitsHuman – I’ll feature my favorites next month! Did your stubborn schnauzer finally master “roll over”? Rate these treats using biscuit emojis (🥨=meh, 🍪=good, 🥠🥠🥠=paw-some!). Let’s turn this into a gallery of wagging tails and proud moments!
Print
Irresistible Training Treats for Dogs: 3-Year Proven Recipe
- Total Time: 30 minutes
- Yield: 50 small treats 1x
- Diet: Low Lactose
Description
A simple recipe for homemade dog training treats using wholesome ingredients. These bite-sized rewards are perfect for obedience training or rewarding good behavior.
Ingredients
- 1 cup whole wheat flour
- 1/2 cup unsalted peanut butter
- 1 large egg
- 1/4 cup water
- 1/4 cup rolled oats
- 1 tbsp chopped fresh parsley (optional)
Instructions
- Preheat your oven to 350°F (175°C).
- Mix flour, oats, and parsley in a bowl.
- Stir in peanut butter and egg until dough forms.
- Add water gradually until mixture holds together.
- Roll dough to 1/4-inch thickness on a floured surface.
- Cut into small shapes using a cookie cutter.
- Bake for 15-20 minutes until golden brown.
- Cool completely before storing in an airtight container.
Notes
- Use silicone baking mats for easy cleanup
- Check peanut butter for xylitol – it’s toxic to dogs
- Store treats in refrigerator for up to 2 weeks
- Adjust treat size based on your dog’s breed
- Prep Time: 10 minutes
- Cook Time: 20 minutes
- Category: Dog Treats
- Method: Baked
- Cuisine: Pet Food
Nutrition
- Serving Size: 1 treat
- Calories: 15
- Sugar: 0.2g
- Sodium: 5mg
- Fat: 0.8g
- Saturated Fat: 0.1g
- Unsaturated Fat: 0.5g
- Trans Fat: 0g
- Carbohydrates: 1.5g
- Fiber: 0.3g
- Protein: 0.6g
- Cholesterol: 3mg