

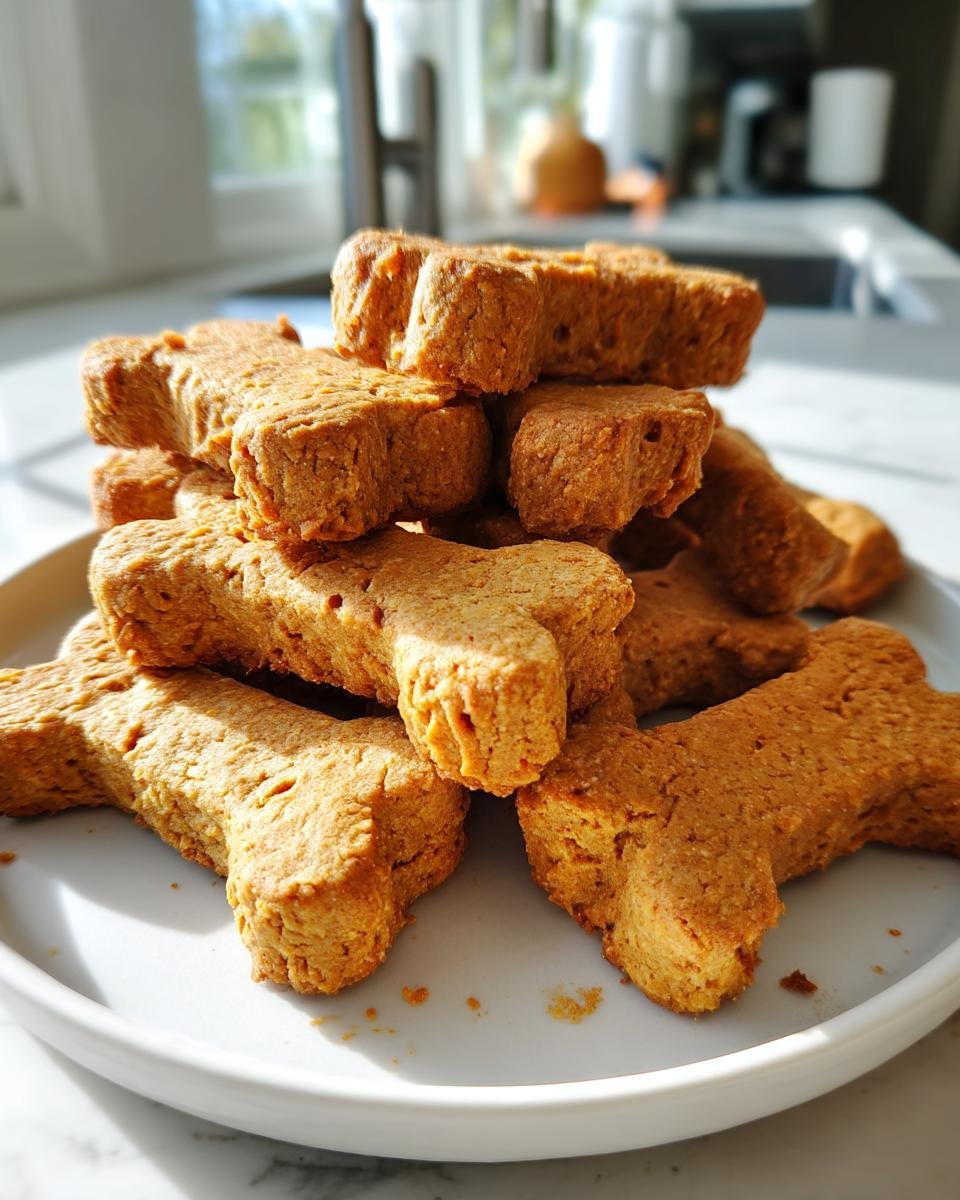
Let me tell you a secret – dogs know when it’s their birthday. The way my golden retriever Biscuit pranced around the kitchen counter as I whipped up his first batch of homemade dog birthday treat recipes, you’d think he could read the calendar! Our furry family members deserve celebration cakes too, but store-bought versions often hide questionable ingredients. That’s why I’ve spent years perfecting simple, tail-wagging recipes using pantry staples you probably have right now.
I’ll never forget Biscuit’s first birthday – flour everywhere, peanut butter smeared across my forehead, and one very confused (but thrilled) pup licking batter off the floor. Since then, I’ve baked hundreds of these treats while studying pet nutrition certifications, learning exactly which human foods are safe and beneficial for dogs. The magic? These four-ingredient wonders take less time than brushing your dog’s winter coat, and they’re packed with nutrients instead of preservatives.
What makes these dog birthday treat recipes special isn’t just the healthy ingredients (though seeing Biscuit’s energy levels stay steady makes me happy). It’s watching your dog’s nose work overtime as the aroma of peanut butter and pumpkin fills your kitchen. These treats skip the sugar crashes and tummy troubles of store-bought options, using wholesome foods that keep the party going long after the last crumb’s been licked off the floor. Let’s make your pup’s next birthday their best “pawty” yet!
Why You’ll Love These Dog Birthday Treat Recipes
Let me paint you a picture: your dog doing their full-body wiggle as you pull these treats from the oven, your wallet not crying from boutique bakery prices, and your conscience happy knowing exactly what’s in their birthday snacks. I’ve designed these dog birthday treat recipes to be the solution we all need for fuss-free pup celebrations.
First off, these come together faster than your pup can destroy a squeaky toy – we’re talking 10 minutes of active prep. Every ingredient gets the paw-print of approval (no sketchy preservatives or mystery “meat meal” here). That’s right – these homemade goodies cost about a quarter per treat compared to store-bought versions. I’ve even caught myself nibbling the dough (don’t judge – the peanut butter-pumpkin combo is weirdly good!).
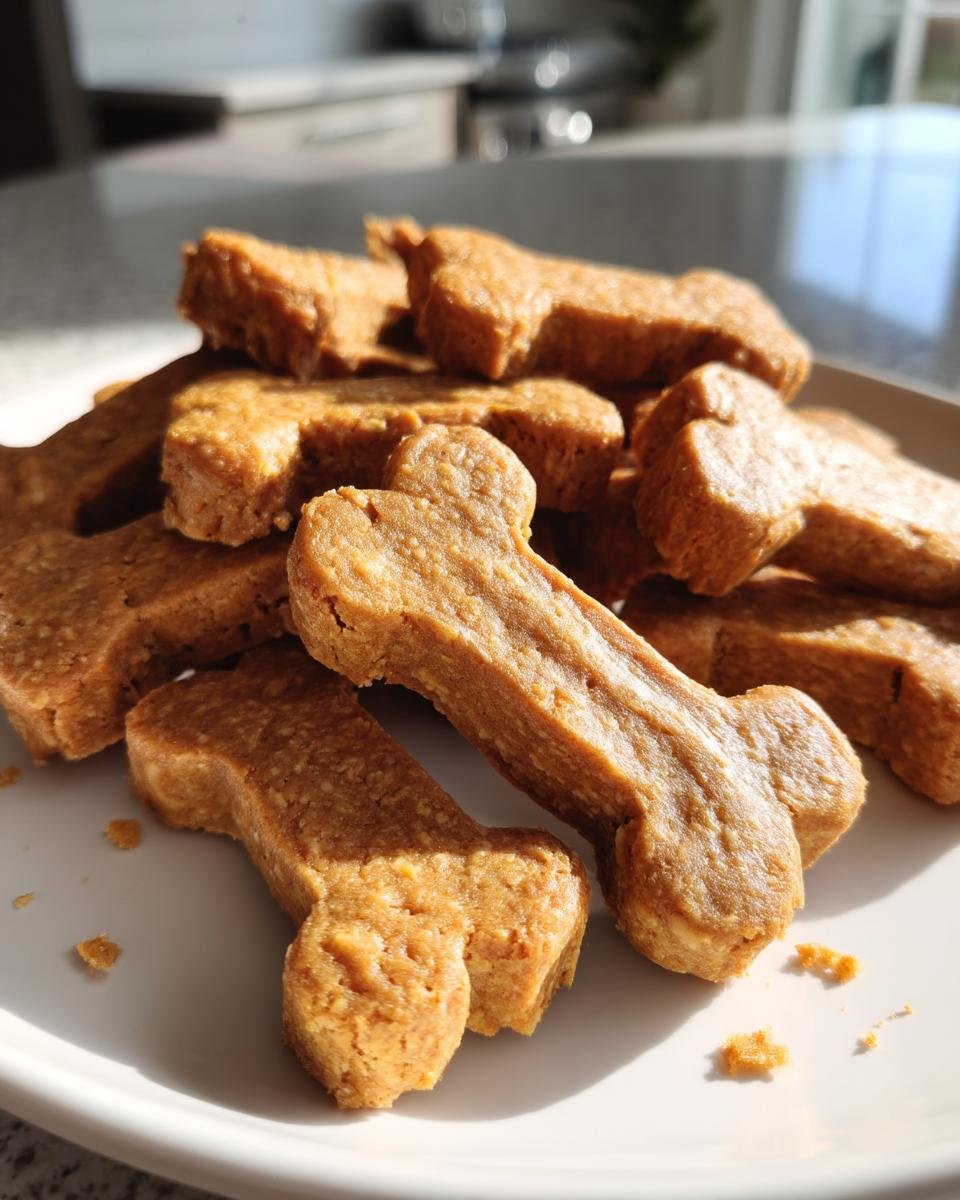
Here’s the best part: you get to play pastry chef for your pooch. Break out those bone-shaped cookie cutters you impulse-bought, or freehand a fire hydrant silhouette. Last year I made Biscuit a mini “cake tower” using stacked treats with a dollop of yogurt frosting. Watching him delicately nibble each layer while maintaining maximum tail wags? Priceless.
Ingredients for Dog Birthday Treat Recipes
Let’s raid your pantry – chances are, you’ve already got everything needed for these pup-approved birthday treats! Here’s your shopping list (though I bet Biscuit’s nose just perked up at “peanut butter”):
- 1 cup whole wheat flour – gives structure without upsetting sensitive tummies
- 1/2 cup unsweetened peanut butter (xylitol-free – triple check the label!)
- 1/4 cup packed pumpkin puree – NOT pie filling (that sugar and spice stuff’s dangerous for dogs)
- 1 large egg, beaten – acts as our glue and protein boost
- 1/4 cup room temperature water – cold water makes the dough cranky
Pro tip: When measuring pumpkin, press it into your measuring cup like brown sugar. That concentrated pumpkin power makes the treats extra moist!
Safe Ingredient Swaps
Biscuit’s best friend Mocha can’t handle wheat? No worries! Swap in oat flour 1:1 – just blitz rolled oats in your blender. For peanut-allergic pups, sunflower seed butter works beautifully (still check for xylitol!). Out of pumpkin? Unsweetened applesauce adds similar moisture.
Whatever you do, avoid these toxic troublemakers: chocolate, grapes, raisins, macadamia nuts, or anything with artificial sweeteners. Last year I caught my niece trying to add rainbow sprinkles – we compromised with a tiny dot of plain yogurt instead!
How to Make Dog Birthday Treat Recipes
Let’s get baking! I’ve made this recipe so many times, I could do it in my sleep – but don’t worry, I’ll walk you through each step. Just last week, Biscuit sat guard by the oven the entire time, his nose working overtime like a furry little quality control inspector.
- Fire up that oven to 350°F (175°C) – no fancy convection settings needed. My ancient apartment oven does the job perfectly!
- Mix it like you mean it – dump all ingredients into your biggest bowl. I use a wooden spoon, but clean hands work better for squishing peanut butter clumps. The dough should look like slightly sticky playdough.
- Roll with it – flour your counter generously. Roll to 1/4-inch thickness (think dog tag dimensions). Too thin = crispy chips, too thick = chewy centers (which Biscuit actually prefers!).
- Cut the cuteness – bone shapes are classic, but I’ve done paw prints, fire hydrants, even tiny tennis balls. No cutter? A pizza wheel makes quick squares!
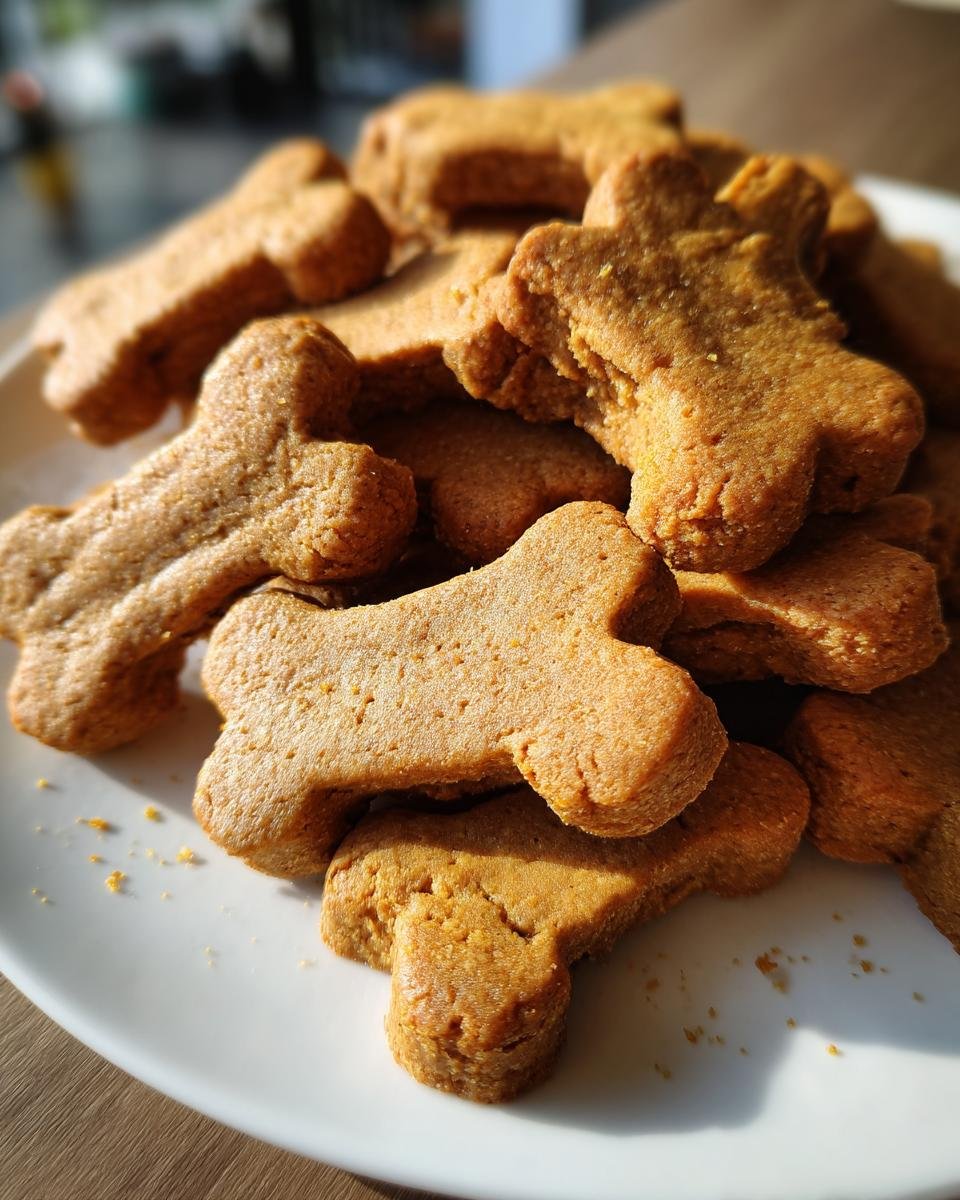
- Bake until sniff-worthy – 15-20 minutes on an ungreased sheet. They’ll puff slightly and smell like peanut butter heaven. Your dog will likely plant themselves under the oven at this point.
- Cool it, hotshot – let treats cool COMPLETELY on the sheet. I know those puppy eyes are tempting, but warm treats crumble into messy (but delicious) chaos.
Pro tip: If dough sticks to your rolling pin, sandwich it between parchment paper. Saved my sanity during Biscuit’s “paw-ty” last year!
Shaping & Baking Tips
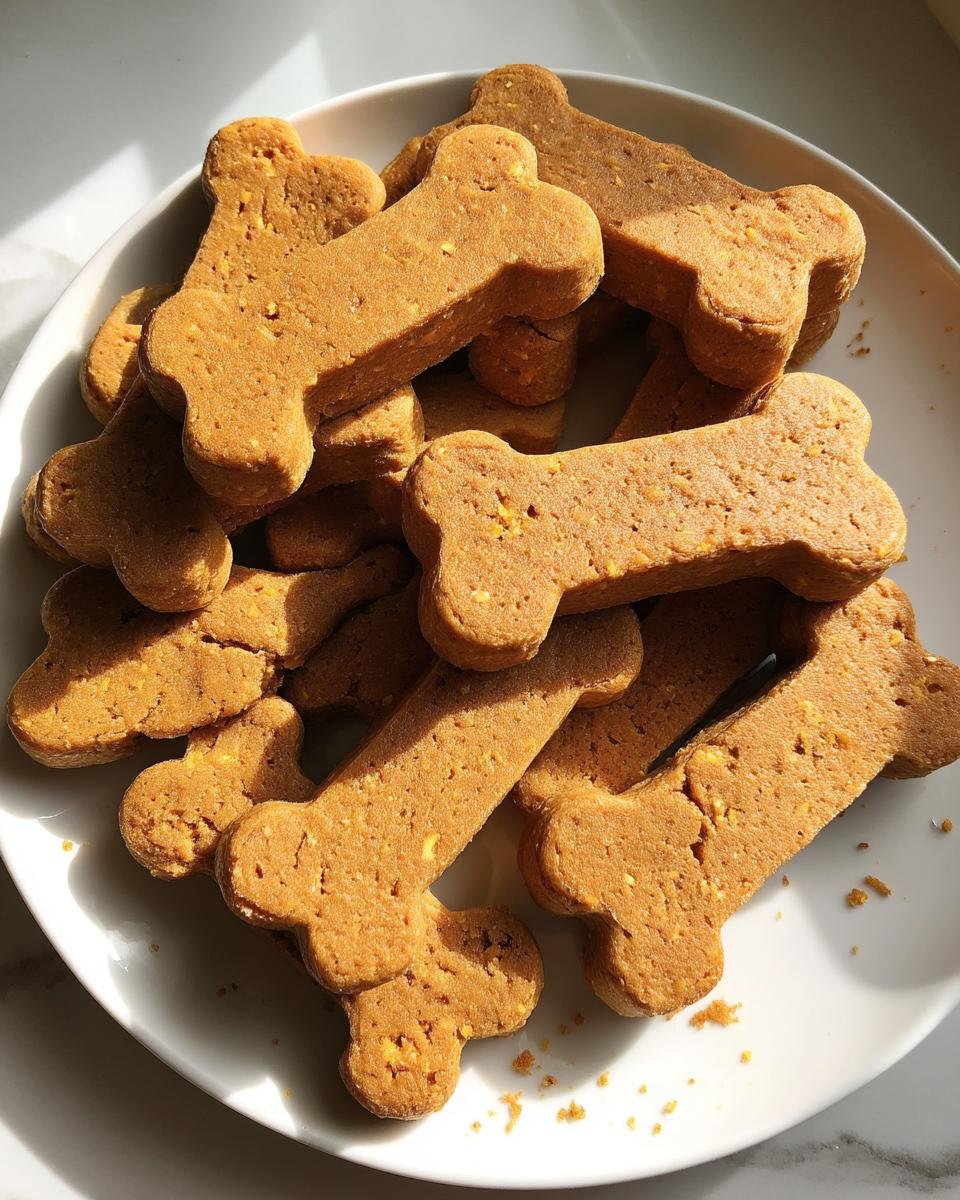
Here’s the secret to bakery-worthy treats: silicone molds! I found bone-shaped ones at the dollar store – they make uniform shapes and release easily. No mold? Chill dough 10 minutes before cutting for cleaner edges.
Rotate your baking sheet halfway through cooking. Most ovens have hot spots, and we want even golden edges without burnt bottoms. Perfect doneness looks like lightly toasted cookies – dry on top with slightly darker rims. They’ll harden more as they cool, so don’t wait for browning!
Watch for the “snap test” – properly baked treats should break cleanly, not bend. If they’re still soft after cooling, pop them back in for 3-minute increments. Your kitchen might smell so good, you’ll consider trying one yourself (I won’t tell!).
Creative Variations for Dog Birthday Treat Recipes
Why stop at basic biscuits when you can throw your pup the fanciest “barkday” bash? I’ve gone wild testing variations of these dog birthday treat recipes – turns out Biscuit’s a food critic with particular tastes (who knew golden retrievers preferred blueberries over carrots?). Here’s how to jazz up your treats:
Veggie Boost: Mix in 2 tablespoons shredded carrots or zucchini. I tried hiding spinach once – let’s just say green-speckled treats confused the birthday boy! Berry Blast: Fold in 1/4 cup frozen blueberries (thawed and smashed). They add natural sweetness and turn dough into a gorgeous purple hue that impressed even my skeptical sister.
For showstopping presentation, melt 1 tbsp coconut oil and drizzle over cooled treats. Last year, I “wrote” BISCUIT in shaky oil letters – he licked the plate clean in 2 seconds flat! Yogurt Frosting takes it up a notch: mix plain Greek yogurt with a sprinkle of turmeric for golden “icing.” Pipe it through a plastic bag corner for pro-looking swirls.
My favorite hack? Use silicone ice cube molds to create mini “cakes.” Layer different colored doughs – carrot orange, blueberry purple, pumpkin tan. Freeze yogurt frosting dots between layers for a surprise center. Just don’t be surprised when your dog starts expecting tiered treats every year!
Storing Homemade Dog Birthday Treats
Let’s be real – these treats rarely last long enough to store! But when Biscuit’s birthday haul exceeds his snack quota (which happened after Grandma went overboard last year), here’s how to keep them fresh. Store cooled treats in an airtight container at room temperature for up to 5 days. I use Mason jars because watching Biscuit’s confused head tilt when he sees “his” jar on the counter never gets old.
For longer storage, freeze them in a zip-top bag for 2-3 months. Pro tip: Portion them out first – thawing a giant frozen brick of treats is like trying to separate post-dog-park socks! Avoid plastic containers unless you line them with parchment – moisture turns these into chew toys instead of crispy delights. If your kitchen feels humid, toss in a silica packet (the kind from seaweed snack packages work great).
Watch for any soft spots or funky smells – homemade goodies don’t have preservatives, so when in doubt, toss it out. Though honestly? My “expired” treats usually end up as training rewards long before they go bad!
Dog Birthday Treat Recipes FAQ
Can I use regular peanut butter from my pantry?
Only if it’s xylitol-free! I nearly made this mistake with a “low-sugar” brand last year – now I triple-check labels. Many commercial peanut butters contain this deadly sweetener. Stick to natural varieties where the ingredients list just says “peanuts” (and maybe salt). When in doubt, sunflower seed butter works great too!
How long do these homemade dog treats stay fresh?
They’ll keep 5 days in an airtight container – if your dog doesn’t inhale them first! I once froze a batch for 3 months and they thawed perfectly. Just avoid humidity (Biscuit learned this the hard way when his “secret stash” behind the couch turned into a science experiment).
Are these safe for puppies?
Absolutely! I’ve made these for 8-week-old fosters with no issues. Just break treats into pea-sized pieces for tiny mouths. Puppies need extra calories, but still limit to 2-3 treats daily. Pro tip: Use mini cookie cutters for teacup breeds – my friend’s Chihuahua expects heart-shaped nibbles now!
Nutritional Information
Let’s talk numbers – these dog birthday treat recipes pack about 35 calories per treat, with 2g fat, 4g carbs, and 1g protein. Perfect for balancing your pup’s diet while letting them indulge! Values may vary slightly depending on your peanut butter brand or pumpkin moisture content. Always consult your vet for portion guidance – my rule is 1-2 treats per 10lbs daily. Biscuit’s 65lbs? Let’s just say he’s learned the art of “negotiating” extras!
Share Your Pup’s Celebration
Nothing makes my day like seeing your dogs go nuts over these birthday treats! When Biscuit demolished his first “cake,” I nearly cried laughing as he licked peanut butter off his own eyebrows. Snap a pic of your pup’s finest drool-worthy moment and tag it #DogBirthdayTreatRecipes – I’ll be stalking the hashtag while nibbling my human-approved version (don’t tell Biscuit!). Let’s turn this into the happiest little corner of the internet, one slobbery celebration at a time.
Print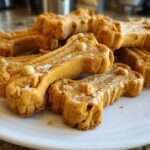
4-Ingredient Dog Birthday Treat Recipes Your Pup Will Adore
- Total Time: 30 minutes
- Yield: 20-24 treats 1x
- Diet: Low Lactose
Description
Celebrate your dog’s special day with simple, healthy birthday treats made with wholesome ingredients. Easy to bake and loved by pups, these treats make the occasion memorable.
Ingredients
- 1 cup whole wheat flour
- 1/2 cup unsweetened peanut butter
- 1/4 cup pumpkin puree
- 1 large egg
- 1/4 cup water
Instructions
- Preheat your oven to 350°F (175°C).
- Mix all ingredients in a bowl until a dough forms.
- Roll dough to 1/4-inch thickness and cut into shapes.
- Place on a baking sheet and bake for 15-20 minutes.
- Cool completely before serving.
- Store leftovers in an airtight container for up to a week.
Notes
- Check for peanut allergies before feeding your dog.
- Use bone-shaped cookie cutters for a festive look.
- Swap pumpkin puree with mashed banana for variety.
- Prep Time: 10 minutes
- Cook Time: 20 minutes
- Category: Dog Treats
- Method: Baking
- Cuisine: Pet-Friendly
Nutrition
- Serving Size: 1 treat
- Calories: 35
- Sugar: 1g
- Sodium: 15mg
- Fat: 2g
- Saturated Fat: 0.5g
- Unsaturated Fat: 1g
- Trans Fat: 0g
- Carbohydrates: 4g
- Fiber: 0.5g
- Protein: 1g
- Cholesterol: 5mg